Starting plants from seed is an economical and rewarding way to start a garden. Whether you have saved your own seed, or purchased it from a nursery, the basic steps for starting the plants are the same. Techniques may vary according to the type of plants you are growing. Do some research to find out specific instructions for starting your particular seeds.
By cultivating your own seeds and growing out your own transplants, you can save money and increase production capacity. And, you will gain the satisfaction of self-sufficiently producing high quality food products from start to finish. These are the basics.
Materials:
- Seeds
- Seed starting medium (soil)
Tools:
- Planting calendar (for your region)
- Seed starting flats or trays
- Misting spray bottle
- Hand spade
- Grow light or sunny window
Instructions:
1. Test Seed Viability
Check the viability of your seeds by placing a handful of them in a wet paper towel. Fold the towel and zip it into a plastic bag. Leave the bag in a bright spot indoors for a couple of days, and then unwrap the seeds to see how many have sprouted. If most of them sprout, germination is good and the seed is viable. If none or only a few sprout, the seed may be old or may have been improperly stored. Use a different batch of seeds, or sow heavily to make up for the poor germination rate.
2. Direct Sow
Seeds can be sown directly in the garden. Directly sowing seeds is simple and requires no transplanting, so seedlings do not experience transplant shock or root damage. Check your local planting calendar to know the best time to start your seed, and also research the types of seeds you want to grow for proper temperatures and seed planting depth.
As a general rule, seeds should be planted in prepared ground when the soil temperature begins to warm. Start with loose, level soil that is free of rocks and weeds. Plant seeds twice as deep as the diamter of the seed and cover with soil. Tiny seeds can be sown on top of the soil and covered lightly with a sieved potting mix or vermiculite. Water gently, keeping the seeds moist until they germinate. You may need to water several times each day if the weather is dry. As seedlings begin to grow taller and develop a root system, you can begin to water more deeply and less often.
If the soil is too cool for germination, cover it with black or clear plastic prior to sowing. Covering with plastic two weeks prior to planting will not only warm up the ground, but also allow you to discover and clear potential weeds, which will pop up in the warm soil. After the two-week pre-planting period, you will have a crop of tiny weed seedlings that can be hoed off to create a clean seedbed that’s ready for planting and free of weed competition. Sow seeds and cover with plastic until the weather warms to the appropriate temperature for the plants that you are growing.
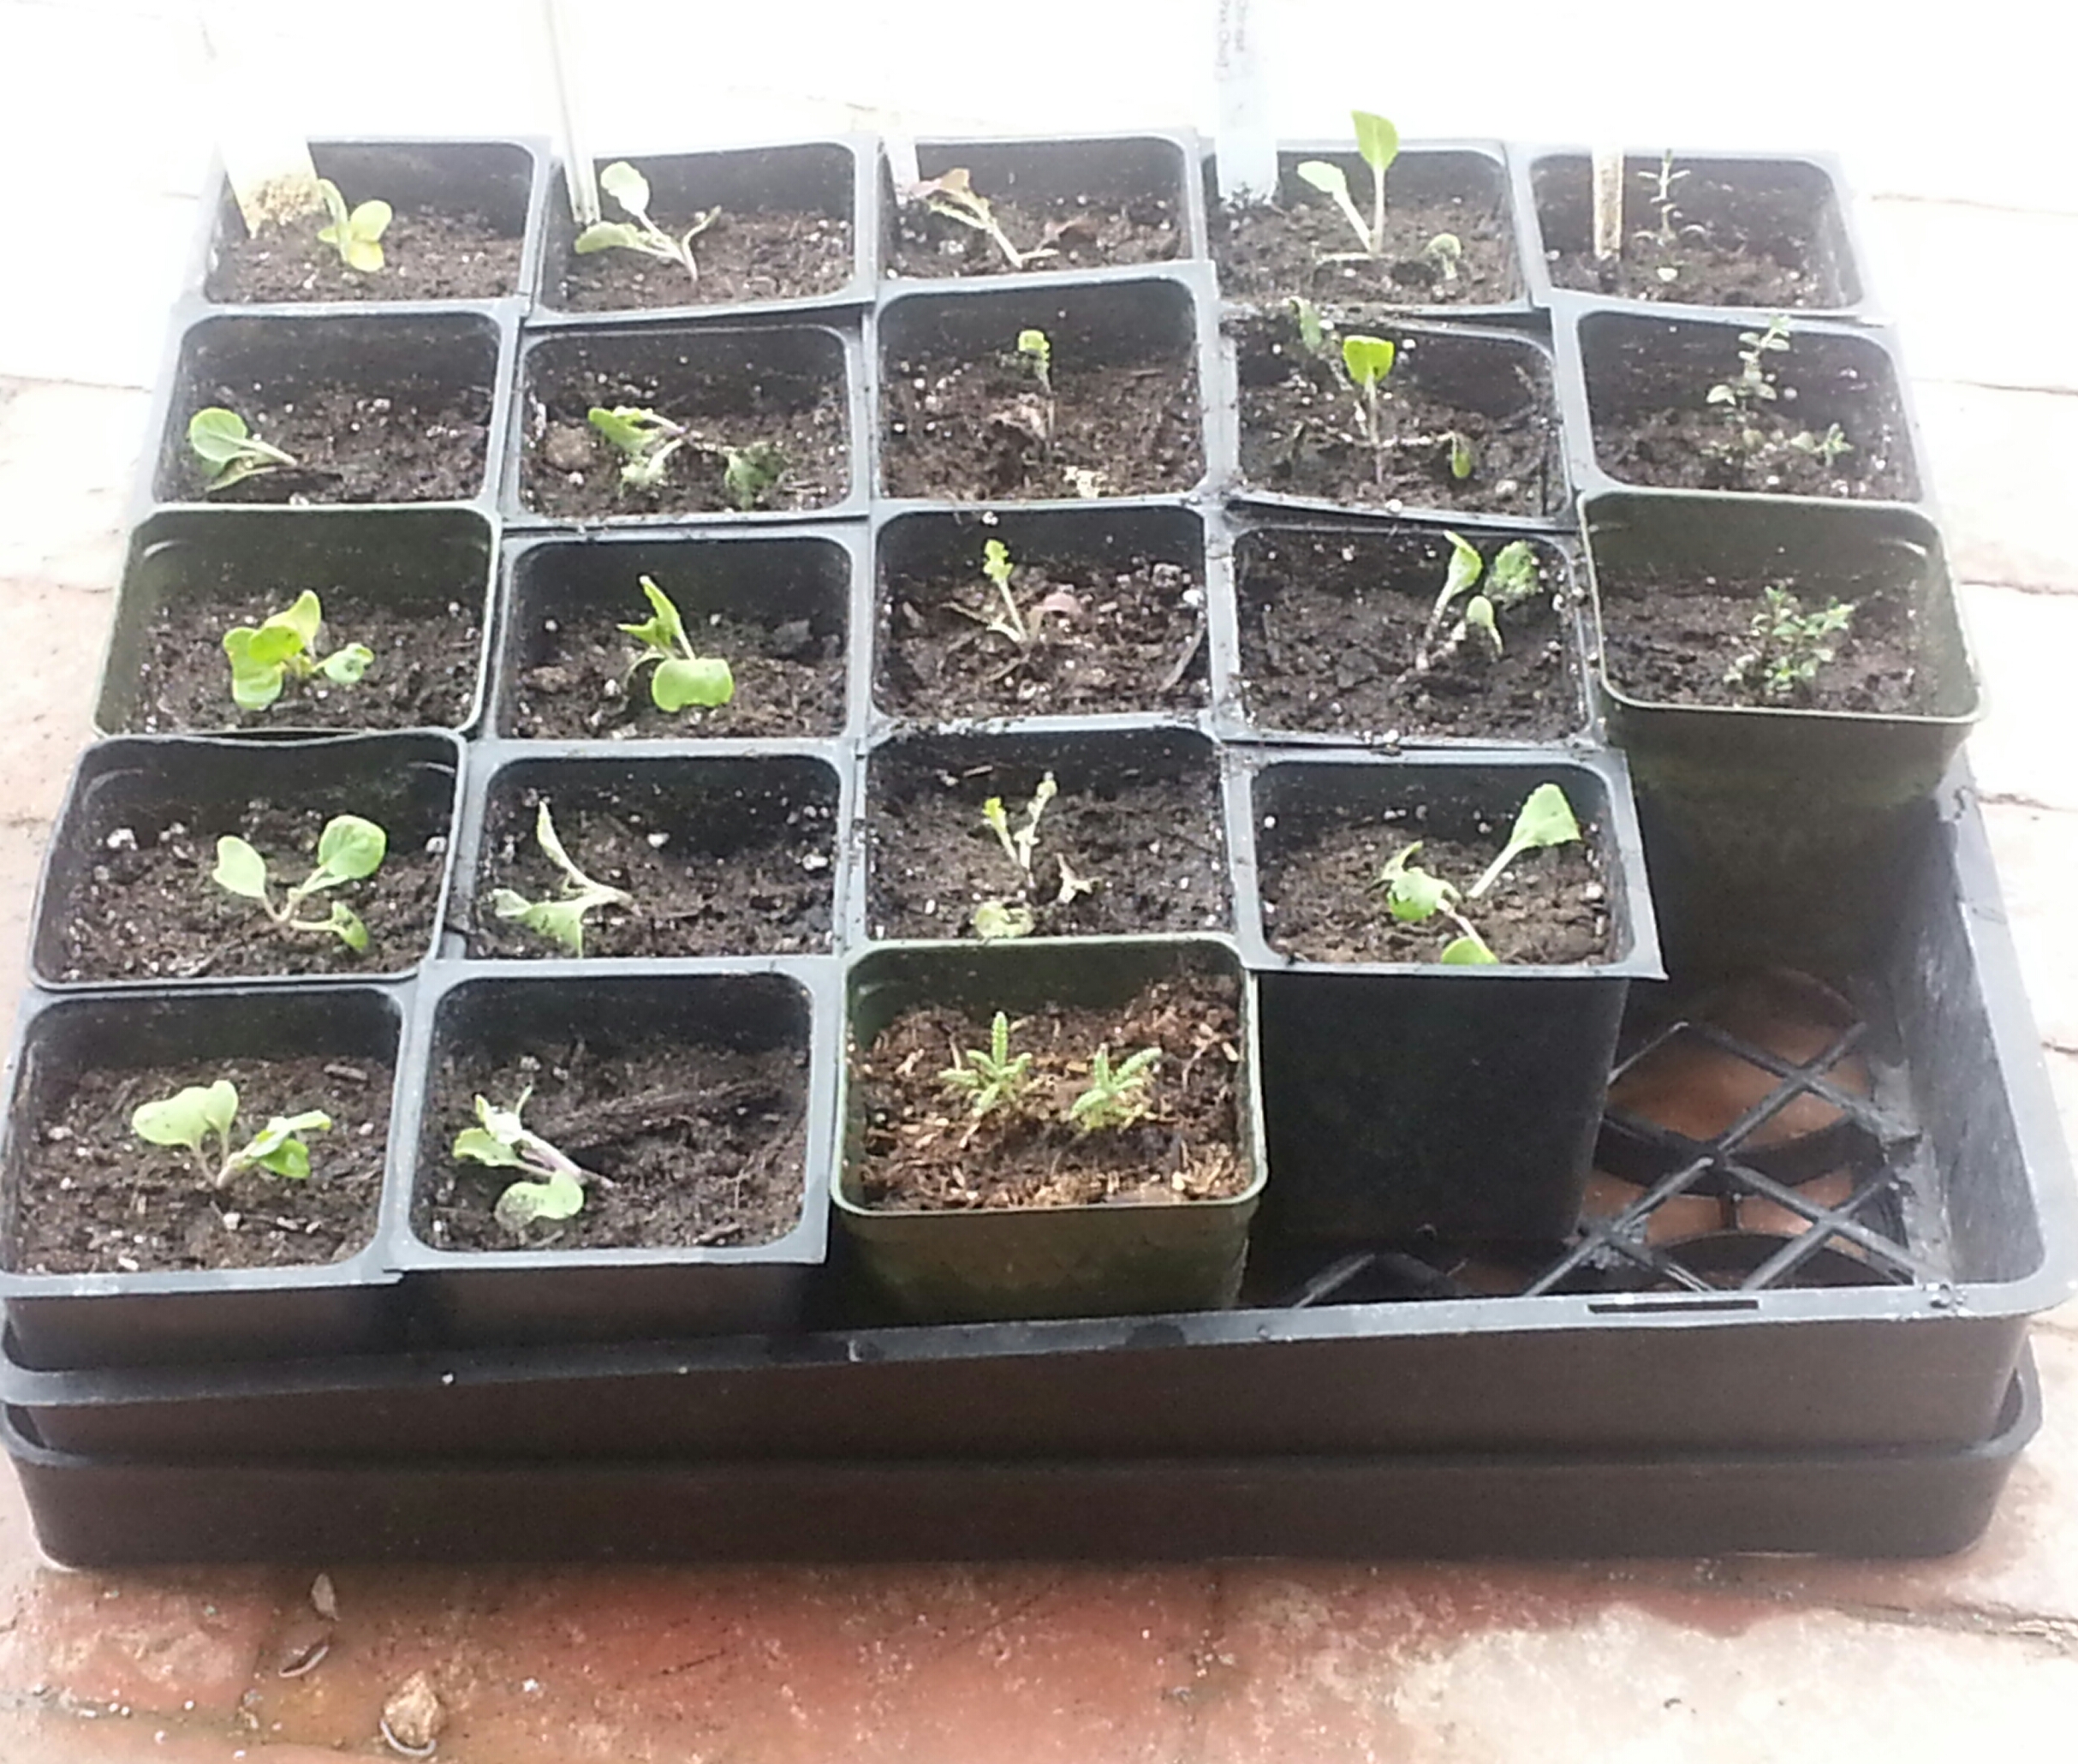
3. Start Seeds Indoors
An alternative method is to start seeds indoors. Plants that need a long growing season or specific germination requirements, such as peppers and tomatoes, are best started under controlled temperatures indoors. Start with sterile seed trays and a planting medium that is free of insects, disease germs and weed seeds. Seed starting mixes can be purchased commercially, or you can mix your own. A good seed starting recipe is equal parts sterilized compost or soil, sand or (vermiculite or perlite,) and peat moss.
The importance of using a sterile planting medium and clean containers cannot be over-emphasized. To sterilize your own soil or compost, moisten it slightly and place it in a cake pan to heat it in the oven at 250oF. Using a candy or meat thermometer, heat the soil until it reaches and maintains a temperature of 180oF for 1/2 hour. If the temperature starts to rise above 180oF, turn the oven temperature down. Avoid over-heating, as this can be extremely damaging to the soil.
Seeds should be started 4 to 12 weeks prior to transplanting, depending upon how quickly the seeds will germinate and grow. Avoid sowing seeds too early, because holding them indoors too long may result in leggy, weak plants that are not hardy enough to survive transplantation.
Check your local planting calendar to find out when it is recommended to plant the varieties that you want to grow. Then, consult your seed packets to see how long it takes for the seeds to germinate and grow to a size that is big enough to transplant. Count backwards from the first planting date on your planting calendar the number of weeks it will take to grow your transplants. This is your seed starting date.
4. Planting Seeds
To start your seeds, moisten your growing medium (as moist as a wrung-out sponge) and fill your trays or containers to within 1/2 inch of the top. Firm the soil at the corners and edges with your fingers or a wood block to create a flat surface that won’t sink over time.
Do not plant seeds too deeply. Plant large seeds twice as deep as the diameter of the seed, two seeds per cell or planting hole. Thin, or select one seedling for removal as the seedlings sprout to allow the hardiest to grow. Extremely fine seed, such as lettuce and carrots, are not buried, but lightly pressed into the medium, covered with a thin layer of vermiculite and watered in with a fine mist.
5. Water and Light
After sowing, gently mist the seed containers with water, being careful not flood or displace seeds. Another watering method is to place the containers in a pan that contains an inch or two of room-temperature water until the soil is saturated, then removing the containers from the water to drain. Ideally, soil should remain as moist as a wrung-out sponge so that it is wet enough to germinate the seeds, but not so wet as to deprive the seedlings of oxygen.
Seedlings need bright light to grow. Place them in a bright window or 4 to 6 inches below a grow lamp for about 16 hours each day. Raise the lamp as the seedlings grow.
6. Bumping Up
If the plants have been seeded close together in one tray, they must be “bumped up,” or transplanted into a larger container to give them proper growing space. As seedling sprout, the first two leaves are called cotyledons, or “seed” leaves. They may look different from true leaves. When the first true leaves appear above or between the cotyledon leaves, this is the proper time to bump up the plants.
Some seed starting mixes contain a small amount of fertilizer. If your soil mix does not contain fertilizer, now is the time to begin fertilizing with a water-soluble plant fertilizer, at the dilution recommended by the manufacturer. Fertilize every two weeks, being careful not to over-fertilize, which can be damaging to your seedlings.
To transplant, carefully pry up the small plants, allowing the seedlings fall apart. Carefully pick out individual plants, being mindful of treating the roots very gently so as not to tear them. Poke a hole in the soil medium, deeply enough so the seedling can be placed at the same depth it was growing in the seed flat. Holding the plants by the stem, plant them 1 to 2 inches apart. Gently firm the soil and water lightly. Place them out of direct light and heat for a few days to help them get established, watering and fertilizing as needed.
7. Save Your Own Seed
Learn how to grow, save and store your own seeds here:

