In the farming life, there are few things more exciting and satisfying than witnessing baby chicks hatching from their eggs. On our farm, The Micro Farm Project, we are continuously hatching new baby chickens and Coturnix quail. The first sign of their arrival is an egg that that begins to rock and shake, followed by pipping as tiny beaks begin to poke out of the shells. Next thing we know, the soft cheeping sounds of freshly hatched babies fills the room as one hatchling follows another. It is truly magical how they all come out of their shells right on time, within hours of each other.
To increase the success of our hatches without spending hundreds of dollars on a commercial system, I use a HovaBator Deluxe Incubator system. In my experience, the addition of a forced air fan kit makes all the difference in the world, preventing temperature fluctuations that can delay hatches or cause chicks to come out of their shells too early. The automatic egg turner saves a lot of time and hassle, and prevents eggs from being neglected too long accidentally, damaging the chicks.
The kit includes easy-to-follow assembly and hatching instructions, a digital temperature and humidity meter, and an egg candler that allows you to see the developing embryo in its shell. And a sanitary liner in the bottom of the incubator makes it easy to clean for the next hatch.
To learn more about raising chicks, visit the article below:
Raising Backyard Chickens from Scratch
How to Hatch Chicken Eggs
Hatching eggs in a forced-air incubator is easy. Start by setting up the incubator and egg turner. Plug the incubator in and bring it up to temperature, 99-99.5 degrees F. You may have to play with the temperature control until you achieve the proper temperature. Place a dish of water in the bottom of the incubator, or fill the liner with water according to the incubator instructions. This will increase the humidity, which should be 45-50%.
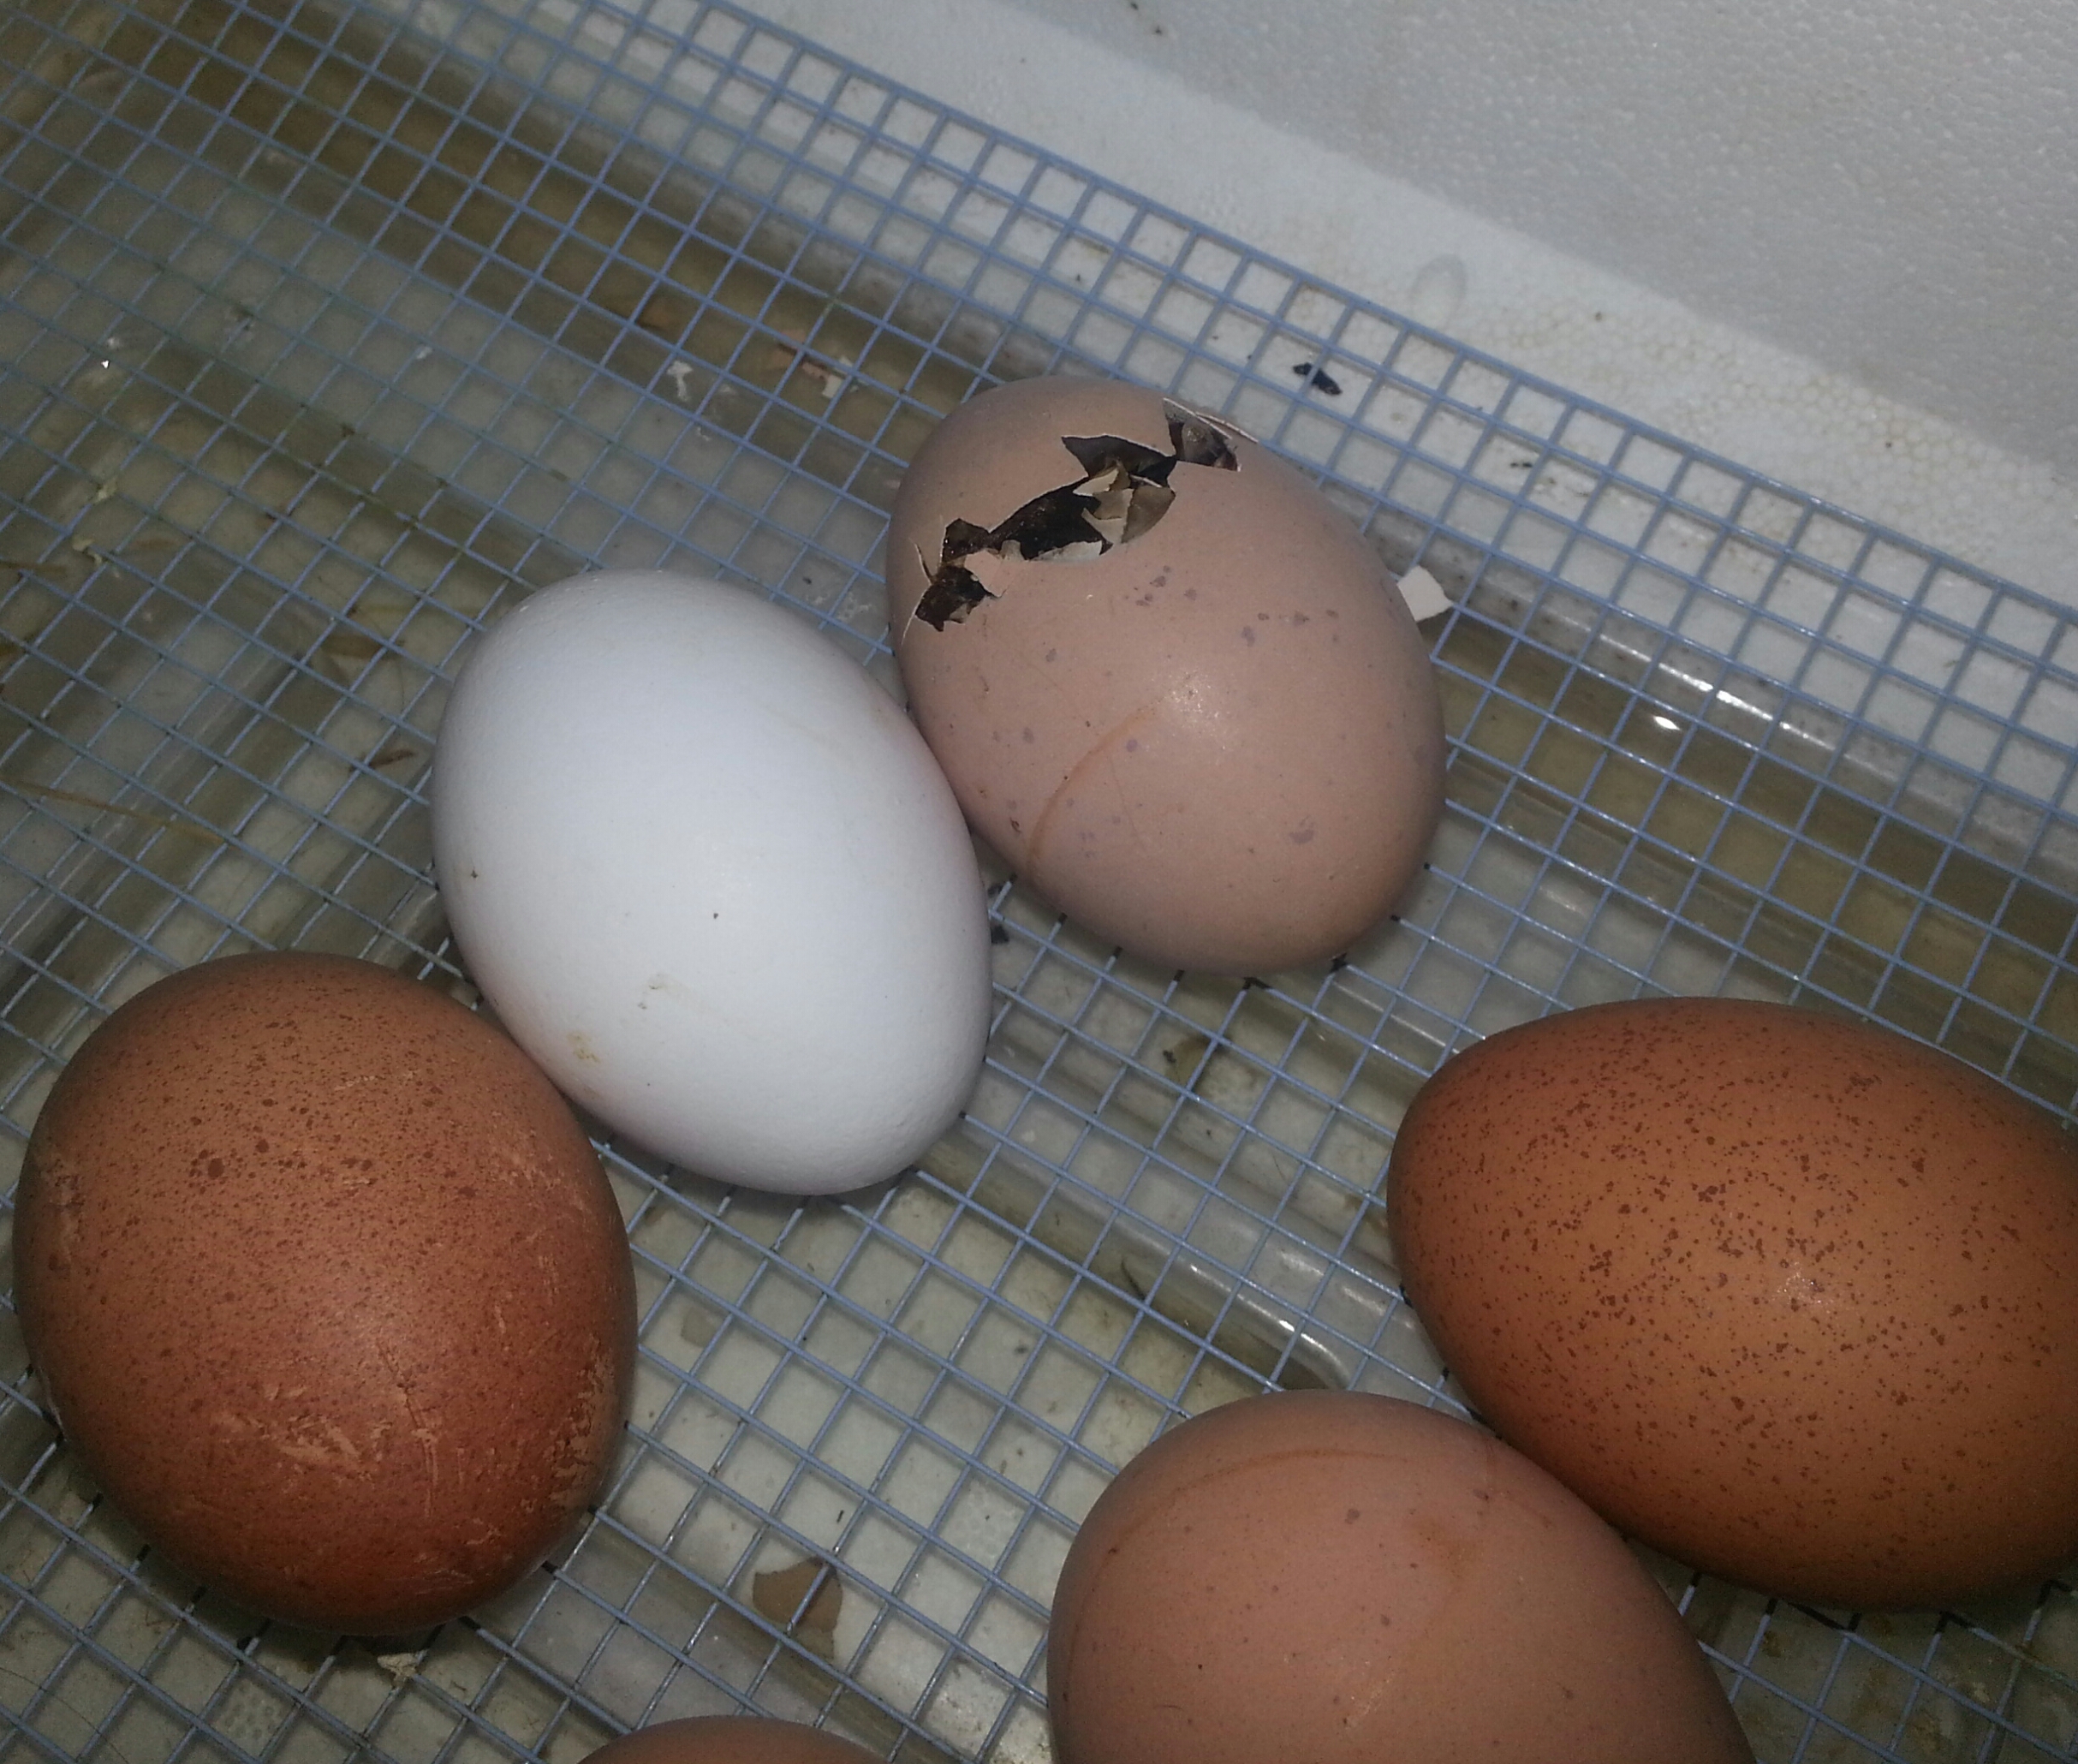
Once the proper temperature and humidity have been reached, plug in the egg turner and add the eggs, pointy end down. Eggs hatch in 21 days (give or take a day.) Plan ahead so that the eggs will be hatching on a day that you will be home to witness the event.
Keep an eye on the temperature and humidity, adjusting as needed.
On day 18, increase the humidity and remove the egg turner. You will have to turn the eggs manually for the next couple of days, so mark one end with an ‘X’ to keep track of which direction they have been turned.
On day 21, the eggs will begin to hatch. Leave the chicks in the incubator for 24 hours to dry. They will need no food or water during this period. Use the time to set up a brooder, into which they will be moved on day 2.
For more info about incubating chicks and setting up a brooder, see below:
Raising Backyard Chickens from Scratch
How to Incubate and Hatch Eggs
Incubating Chicken Eggs (video by Mother Earth News)
At the Micro Farm Project, we not only hatch chicken eggs, but also Coturnix quail eggs. The eggs are tiny, about one-fourth the size of a chicken egg. Though the egg turner that comes with the HovaBator Deluxe combo is universal, able to hold all types of eggs, the quail rails allow me to hatch up to 120 quail eggs at a time. This allows us to prepare large hatches for sale to the public.
To learn more about hatching quail, visit the article below:

