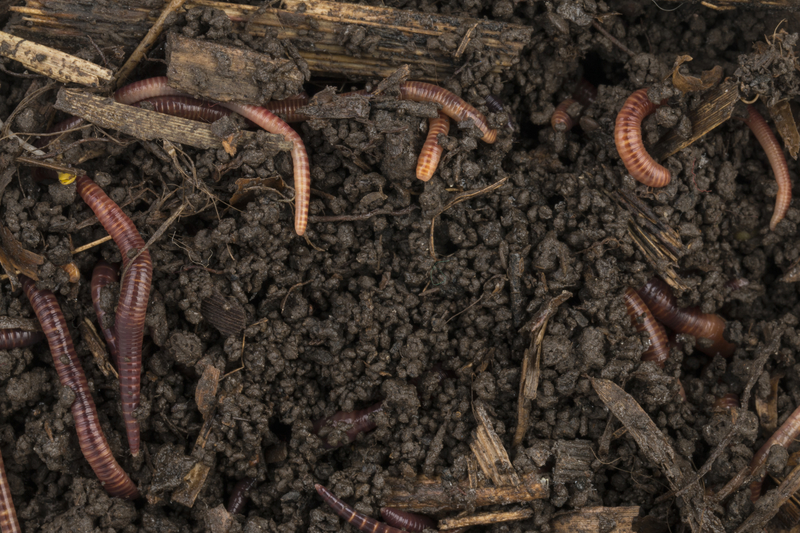
Worm composting, aka ¨Vermicomposting,” is using worms to decompose your organic waste. “Vermicompost” is a mixture of decomposing food, bedding and castings (worm manure). Plain and simple, when worms eat organic waste, it is excreted in the form of nutrient-rich fertilizer. Vermicomposting is different from other compost systems because it can be done inside, requires less space and produces more fertile soil amendments.
Getting Started
Bins: Buy and ready-made bin, or make one your self out of a plastic tub. Select a tub that is 8-16 inches tall, and that provides 1 square foot of space for each pound of food that will be added each week (an educated guess is good enough.) More info about making a worm bin is at http://whatcom.wsu.edu/ag/compost/Easywormbin.htm.
Drill small holes in the top and sides of the bin to provide plenty of aeration. Cover the bin with a lid to deter fruit flies. Line the bin with damp newspaper strips or straw (never sawdust.) Add worms.
Feeding Worms
Feed the worms a little bit each day. Estimate the size of the mass of worms, and feed them ½ this amount of food daily. Mash, crush or blend food (worms do not have teeth) and bury it in their bedding in a different location each time. If fruit flies are a concern, freeze vegetable peelings before adding them to your bin in order to kill the fly eggs that can be hiding on them.
Worms like to eat eggshells, fruit and veggie scraps, tea bags and coffee grounds, grass clippings, grains, and bread.
Worms do not like to eat meat, oily foods, onions, garlic, onion skins, citrus, dairy products, bones, plastic or foil.
Maintenance
Add pre-moistened bedding to the bin when necessary. A layer of dry bedding on top of the wet bedding will deter flies and fruit flies. Remove maggots, only if they bother you or compete too much with the worms for food (they can be distinguished from baby worms by thickness; maggots are fat.) Worm eggs are small brown or yellow balls. Don’t remove them, and you will have some new worms!
Harvesting Worm Compost
Use one or a combination of the following collection methods:
- Move the contents of your bin to one side, filling the other with fresh bedding. Place new food scraps in the new side until the worms have migrated to the other side. Harvest your vermicompost after about a month.
- Remove between one-third and one-half of your bin, including the worms, and simply place it in your garden soil. Add fresh bedding to your bin and continue composting food.
Using Worm Compost
Use vermicompost much as you would regular compost, as a soil amendment or mulch. Or make vermicompost “tea” by soaking castings in water for a day. Fertilize by pouring onto the soil around plants. Or dilute and use as a foliar spray for new transplants to help them withstand transplant “shock.”
Vermicompost will keep up to a year. Just don’t store it in an air-tight container. On the flip side, don’t let it dry out. It resists wetting, so dry vermicompost won’t be able to release its nutrient value as well as it does when it is kept damp.
Vermicomposting ~ Composting with Worms by The Institute of Agriculture and Natural Resources, Nebraska Extension in Lancaster County
Vermicomposting by North Carolina State University

