Grow Safe, Naturally and Economically
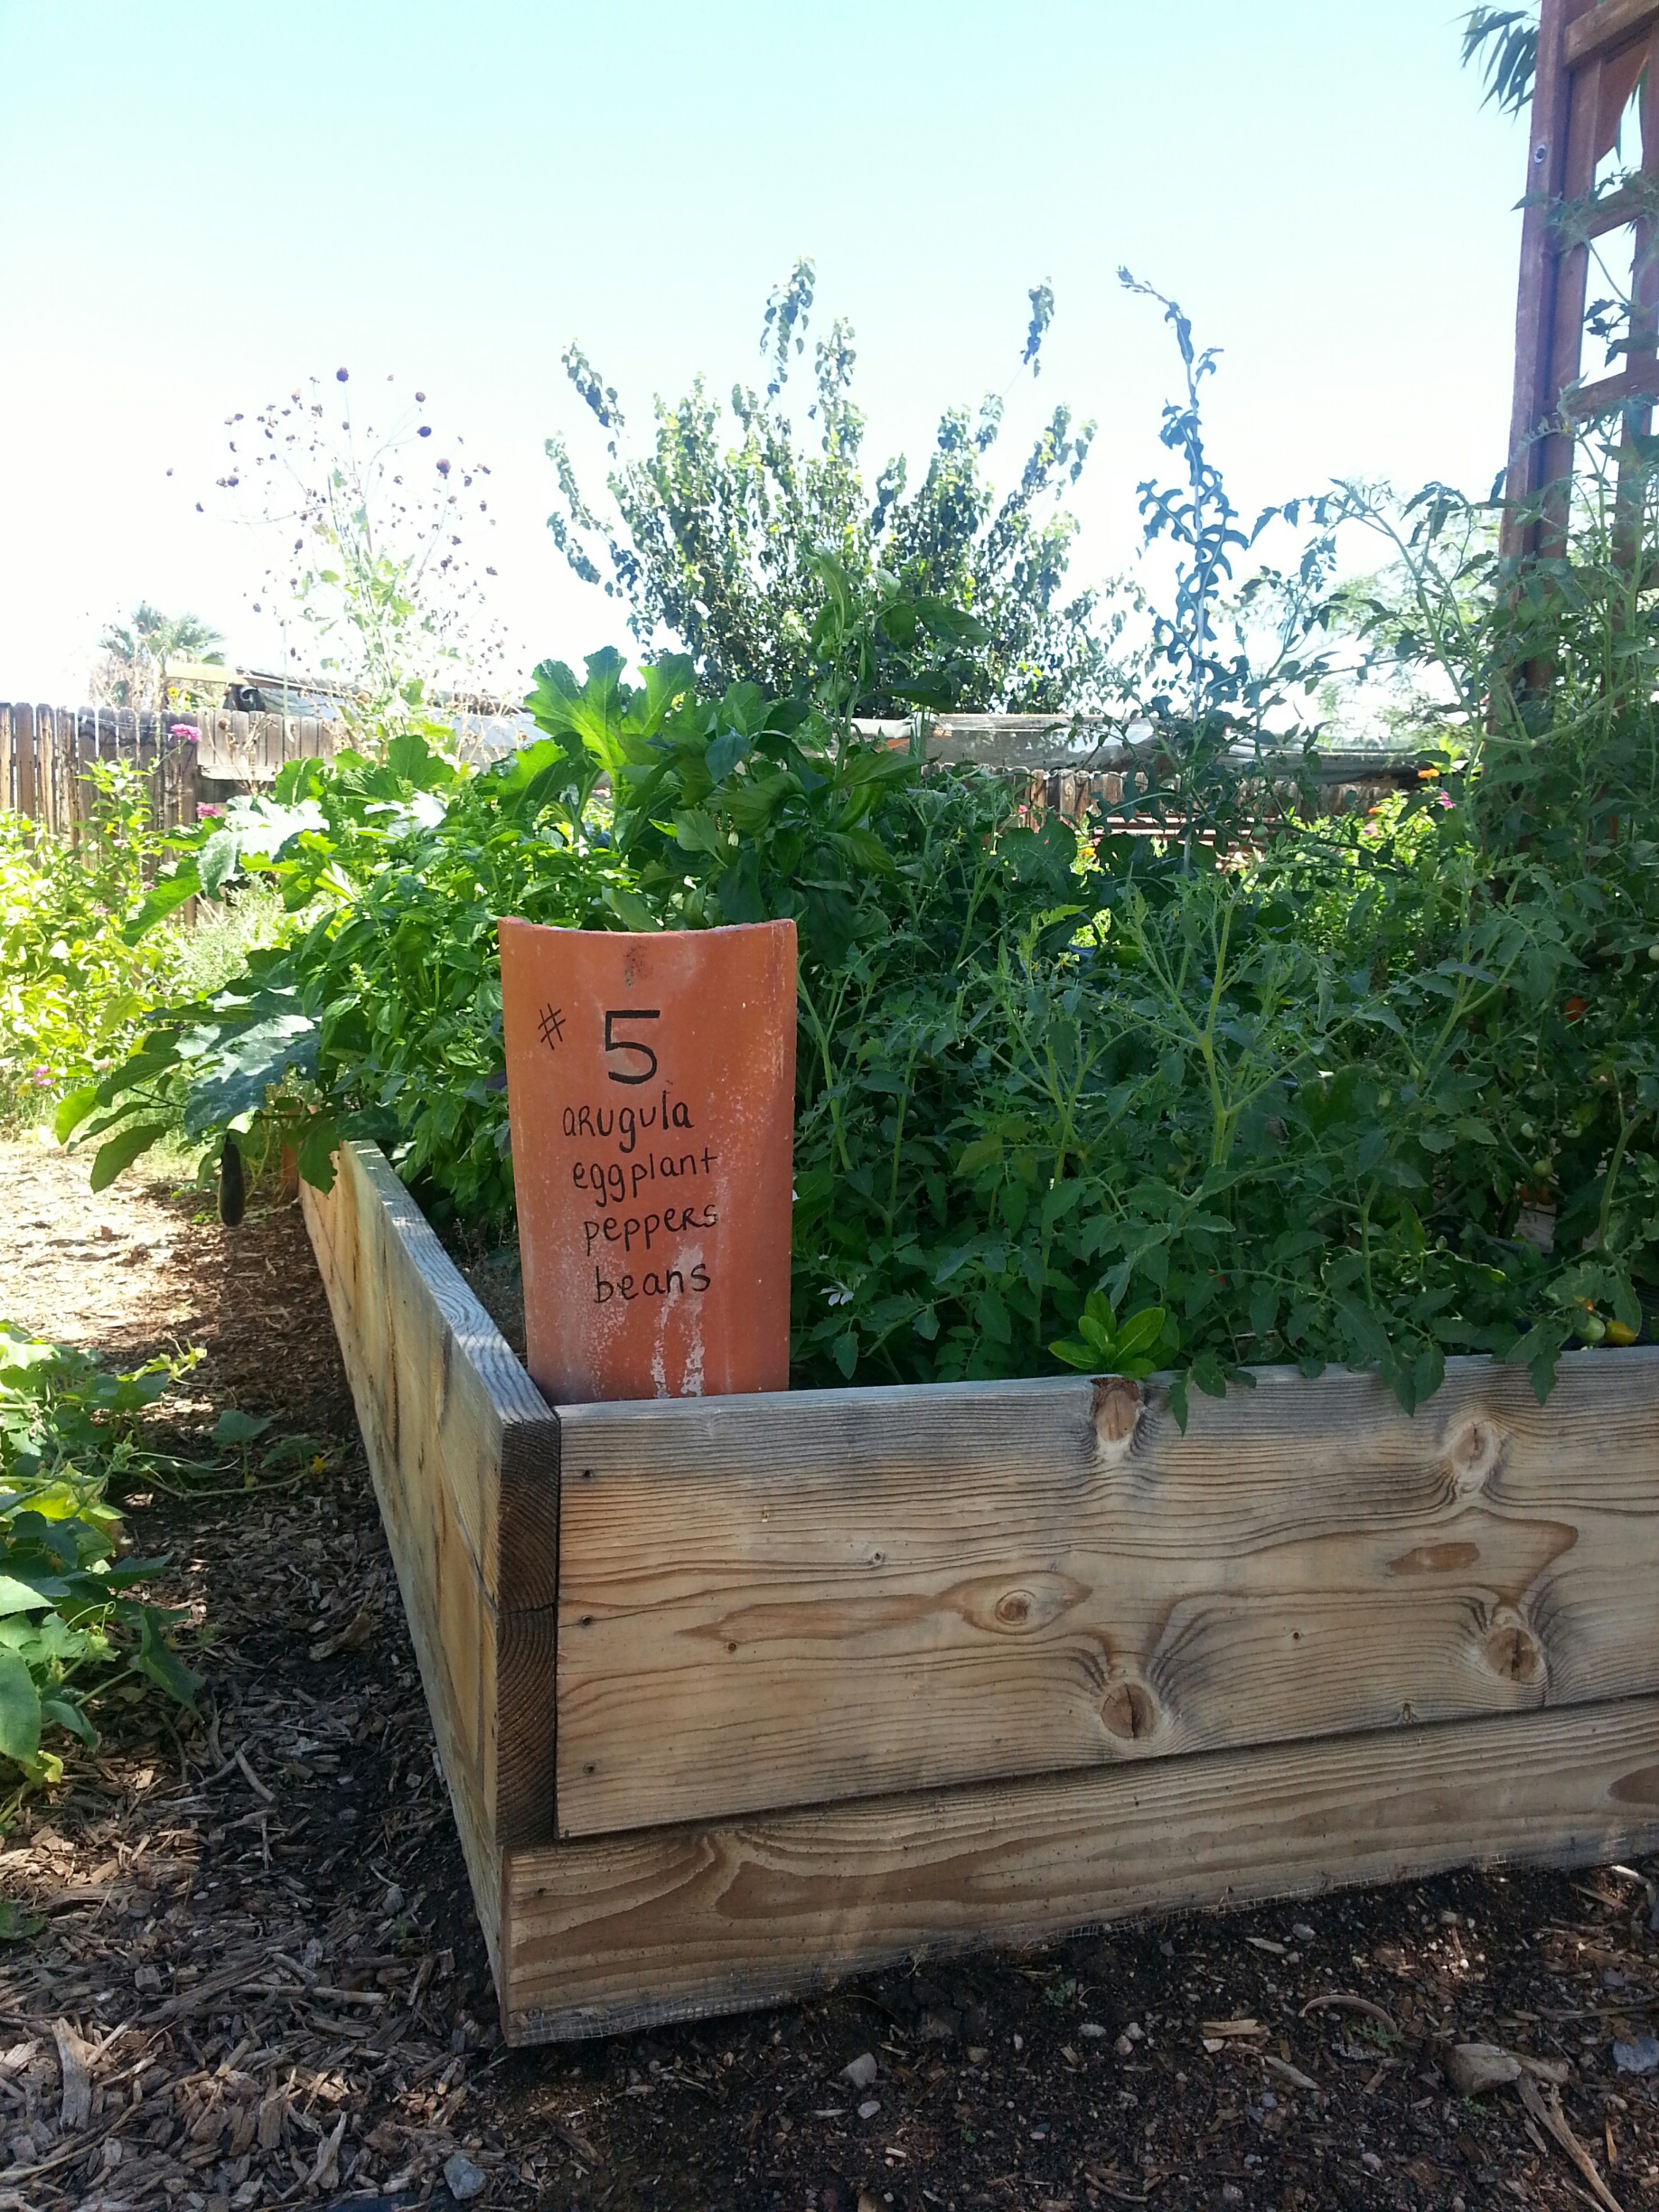
From cities and suburbs to rural environs, people are discovering the joys of vegetable gardening, and the health benefits of controlling the chemicals that come in contact with their food. Many of these gardeners are opting to grow plants in raised beds or containers in lieu of traditional in-ground row gardens. Gardens come in constant contact with water and weather, so those that are made of wood or other porous media require a sealant to prevent quick decay of the materials. However, many conventional wood sealers on the commercial market are made with solvents and other ingredients that may release hazardous chemicals and volatile organic compounds (VOCs) into the air and your garden soil. Hazardous chemicals may find their way into the plants themselves, and ultimately into your body if you are growing edibles.
I recently ca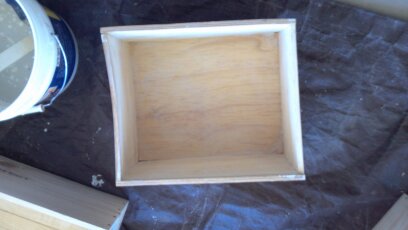 me across some free wooden wine crates that were that were the perfect size for a small herb garden. The wood was completely unfinished and would need to be sealed. I began to research organic and natural options, and found many suggestions online, ranging from low VOC commercial products to homemade organic preparations. These products varied widely in cost, effectiveness and ease of use. This article will rate what I consider to be the best options, based on these criteria. I will also explain how to make the homemade products, and where to obtain materials.
Top 5 Natural Wood Sealers and Conditioners
- Homemade Beeswax and Jojoba Oil Wood Conditioner
- Homemade Milk Paint
- Soapstone Sealer and Wood Wax
- SoySeal Wood Sealer and Waterproofer
- Raw Linseed Oil
Number 5
Raw Linseed Oil
Raw linseed oil is an eco-safe wood preservative that was commonly used before modern synthetic sealers were created. It is an all-natural product that can be purchased in organic forms. It is fairly inexpensive and easily applied with a brush. The oil is very slow-drying, and will take days or even weeks to thoroughly dry. If you choose to use linseed oil, be certain to purchase it in raw form, not boiled, which contains additives that are potentially toxic.
I recommend linseed oil by Sunnyside Corp. It is natural and the price is very reasonable. Linseed oil may also be available at local woodworking or craft stores.
Number 4
SoySeal Wood Sealer and Waterproofer
SoySeal is a non-toxic commercial wood sealer. According to the label, it is VOC free and claims to provide a 24-month seal. It contains oil, water and other ingredients. Though it is one of the least expensive natural commercial products on the market, I did not rate it higher on the list because I was unable to verify the exact contents of the other ingredients.
According to Jennifer Horton of How Stuff Works, the numbers cited on a low VOC paint label are measurements taken before any additives are or pigments are added, both of which can contribute to higher VOC level than indicated. And paints can be labeled VOC Free if they contain less than 5 g/L.* Therefore, I was unable to verify whether or not the product is truly VOC free, or may contain very small levels of these toxins. The individual gardener must weight the cost and effectiveness of the product, which are both excellent, with the possibility of a minute amount of toxicity.
*Horton, Jennifer. “How Low-VOC Paint Works.” HowStuffWorks. N.p., 09 July 2008. Web. 11 Aug. 2016. <http://home.howstuffworks.com/home-improvement/construction/materials/low-voc-paint.htm>.
Number 3
Soapstone Sealer and Wood Wax
Soapstone Sealer and Wood Wax, manufactured by the Real Milk Paint Company, is safe for wood that comes in contact with foods. It contains food grade walnut oil and carnauba wax. It contains no solvents and no VOCs. The product is easy to apply with a soft cloth. A second application can be made in 30 minutes, and the finish dries overnight. The product cures in 15-30 days, rendering it safe for people who have nut allergies. The only drawback to this product that I can detect is cost, which is the highest amongst the products recommended in this article.
Number 2
Milk paint is an organic preparation that gives a whitewash finish to wood. Before paint was manufactured and sold commercially, it was made at home with simple ingredients and techniques passed down through the generations. Due to the abundance of milk in early rural America, a combination of milk paint and iron oxide (rust) or animal blood was often used to paint idyllic red barns that dot the countryside to this day, a testament to the durability of the finish.
As the name suggests, paint is formulated using curdled milk or curd cheese, lime and pigment, if color is desired. I rate milk paint high on the list due to it’s simplicity and ease of use. It can be made with organic ingredients very inexpensively. The paint is time tested and lovely. The only drawback to consider is that milk paint can water spot, a likely occurrence in the garden. After painting with milk paint, I recommend rubbing the dried surface with linseed or vegetable oil. Water spots can easily be removed with a soft cloth and oil. Some consider these spots desirable, adding to the rustic appearance that milk paint provides.
Milk Paint (Lemon Juice Recipe)
Ingredients
- Mixing container with a lid (such as a wide mouth jar)
- Large bowl
- Sieve
- Cheesecloth
- Polyester or natural bristle paint brush
- Soft cloth or rag
- Steel wool or sandpaper
- 1 large lemon (juiced)
- 1 qt skim milk
- Oil (olive-linseed-walnut-or mineral oils are recommended)
Instructions
- In a pitcher or carafe, stir together the lemon juice and milk. Leave the mixture at room temperature overnight or over 2 nights. The milk will curdle. Do not jostle or stir the mixture once the lemon juice has been added.
- Separate the solid curds from the whey liquid by placing a sieve lined with cheesecloth over a large bowl. Pour the milk through the sieve, discarding the liquid whey or saving it for cooking purposes (it makes a wonderful substitute for water in bread recipes.)
- If color is desired for the exterior surfaces of your garden containers, add a few drops of non-toxic acrylic paint and stir-in thoroughly. Continue adding paint, one drop at a time, stirring constantly until the desired color is achieved.
- Use the paint immediately, as it does not store well. Apply the first coat with a brush, and allow to dry for at least one hour. The first coat may be a bit difficult to spread. After one hour, sand the paint or rub it with steel wool. Then paint your second coat.
- Once the paint is completely dry, rub the surface again with steel wool or sandpaper. Vacuum or wipe off any dust that accumulates, and rub the surface with oil.
- If the paint gets water spots, remove them by rubbing with a soft cloth and oil. Optionally, cover with a coat of SoySeal, Soapstone Wood Sealer or a layer of homemade wood polish.
Using Milk Paint by Garden Girl Home & Garden TV


Storing Milk Paint and Artistic Techniques
If you do not use all of your paint, it will store for up to four days in the refrigerator, covered with a lid. Return to room temperature before using.
One favorite painting technique used by antique and vintage furniture dealers is to apply several coats of milk paint in different colors. An appealing combination is to paint a layer of dark green, followed by a layer of barn red, which is then covered by a layer of black. Gentle rubbing with steel wool or sandpaper, or the slower process of wear caused by use, will cut through the layers, revealing the various colors. This creates the antique look of old paint for primitive or farmhousedécor.
Another vintage look can be achieved by painting two contrasting colors. Start by painting a base coat of the first color. Allow it to dry, and then paint a second layer of the same color. When the second coat is dry, begin to apply the contrasting color, wiping each stroke of paint immediately or after several seconds with a clean, soft cloth.
Note also that milk paint is a natural alternative for painting children’s furniture and toys.
Number 1 – Homemade Beeswax and Jojoba Oil Wood Conditioner
My top pick is homemade wood conditioner, made with beeswax and oil. Jojoba oil is an excellent choice, but mineral oil would also work well in this recipe. This formula is very easy and inexpensive to make. It provides a beautiful, shiny finish that brings out the natural beauty of wood. The wax protects wood surfaces by repelling water and dirt. It can be used as a wood conditioner or polish, or as a sealant applied over a base finish of paint.
The resulting product is food-safe, non-toxic, and you don’t have to wear gloves during the application process because it is good for your skin! Additionally, when applied to children’s furniture or toys, it is edible and won’t harm your little ones if they chew on the finish.
Apply this wax to your wooden garden beds or containers as a natural finish, or use it to seal milk paint finishes. Keep a jar of this wax handy to condition your cutting board, wooden salad bowls or butcher block counter tops. Apply it to chapped skin in the wintertime. It also makes a fantastic lip balm.
For a large project, this recipe is easily doubled.
Ingredients
- Double boiler OR a saucepan and a glass or metal measuring cup with a handle
- Glass or plastic container with a lid (such as a large margarine or whipped topping tub)
- Spoon
- Polyester or natural bristle paint brush
- 4 -oz of beeswax or beeswax pellets (pastilles)
- 16 -oz of jojoba OR mineral oil
Instructions
- Divide the beeswax into 4 equal (1 oz) parts.
- Fill a double boiler base with water and bring to boiling over high heat. Place 1/4 of the beeswax in the top pot of the double boiler, reduce heat to medium-low and melt the wax completely.
- If you do not have a double boiler, simply fill a sauce pan with water and bring it to boiling. Place beeswax in a glass measuring cup, and hang the handle over the edge of the pan, immersing the bottom of the cup in the boiling water.
- Hint: to increase the speed at which the wax will melt, chop or grate it into smaller pieces. Do not allow the water to boil dry at any time. Wax can ignite at high temperatures.
- Pour 1/4 of the oil (4 oz) into the melted wax. Stir to combine. Allow any of the wax that hardens upon contact with the oil to re-melt, and then remove the mixture from the heat.
- Set the mixture on a cutting board, towel or cooling rack. As the wax cools, stir frequently to prevent separation of the wax and the oil.When completely cool, transfer the mixture to a storage container with a lid. Repeat the process until you have enough wax to complete your project.
- Brush a layer of the wax onto wood surfaces and allow to dry for several hours in the sun. When the oil has soaked into the wood, apply a second coat
- Hint: this recipe can be modified to create a thicker furniture polish that rubs on with a soft cloth. Decrease the amount of oil to 12 oz. For a citrus scented polish, add a few drops of organic lemon or orange food flavoring when you remove the mixture from the heat.
