Soil building is a key component to growing healthy food. When garden soil is healthy, the plants will be, too. Though there are many techniques for maintaining healthy soil, the home gardener should start with one simple practice: composting.
Nature recycles waste materials via decomposition, and uses it to recharge the soil with nutrients, minerals and vital microorganisms. The natural process of decomposition can take months to complete. For the grower who wants to use recycled materials from the garden to replenish the soil, the slow speed of natural decomposition simply cannot keep up with the nutritional demands of garden plants.
Herein lies the value of composting, which is simply creating an environment that speeds up the natural decomposition process to make humus in a fraction of the time that it naturally occurs.
When incorporated into the soil, compost introduces a host of beneficial microorganisms that assist plants in absorbing vital nutrients.
Additionally, compost attracts decomposers, such as earthworms. As they metabolize organic materials, they release nutrients back into the soil in forms that are easy for plants to absorb. And when they crawl or dig through the ground, they help to maintain the soil structure, as well.
One of the fastest and most effective composting methods is thermophilic decomposition, aka ‘hot composting.’ In thriving hot compost piles, the first types of bacteria that begin to attack the pile are mesophilic bacteria, which are most active at warm temperatures.
Mesophilic bacteria include human pathogens, such as e.coli, but this is no reason for alarm. In a properly maintained compost pile, these microorganisms are quickly inhibited and crowded out of the pile as their own heat attracts thermophilic bacteria, which thrive at higher temperatures.
In the final phase of decomposition, the thermophilic bacteria die off and the pile cools. Once the pile cools, a curing period of several months, or even a year after the thermophilic stage, is beneficial. Cured compost contains beneficial microbes that crowd out and suppress human and plant pathogens. Though it may be tempting to produce and use compost as quickly as possible, waiting for the pile to cure pays off later with soil amendment that is free of elements that could be harmful to plants or humans.
It is simple to get started creating a hot compost pile. Here’s a step-by-step guide for great results. We will use the acronym C-O-M-P-O-S-T to highlight the key components of successful composting, which are as follows:
Instructions:
1. C -Carbon:Nitrogen Ratio
Begin to collect scraps, starting with a small compost container in your kitchen. Any container with a lid will do. Fill it with organic waste: kitchen scraps, coffee grounds, paper towel tubes, eggshells and shredded junk mail.
Organic waste is often described by two categories: browns and greens. Items that contain high amounts of carbon, such as shredded paper, cardboard and dried leaves, are referred to as brown materials. Vegetable waste, tea leaves and fresh grass clippings contain a lot of nitrogen, and they are referred to as green materials.
To understand the difference between browns and greens, consider how long ago the original organism was living. Items that were recently alive, that break down quickly, and have relatively high moisture content are considered greens. Browns, on the other hand, usually contain less moisture and are more stable, breaking down slowly. To illustrate, imagine a bowl of salad sitting next to a bowl of shredded paper. Which would break down more quickly? The bowl of salad is full of greens, which decompose rapidly. The bowl of shredded paper contains browns, which break down slowly in comparison.
Here are some examples of the types of materials that are considered browns and greens.
Browns are:
Fall leaves and dry grass clippings
Straw, cornstalks
Shredded cardboard & newspaper
Paper plates, bags, towels, coffee filters
Chipped brush, sticks, twigs, branches, bark
Sawdust, dryer lint, animal bedding
Pine needles and pinecones (should make up less than 10% of the pile)
Eggshells and cardboard egg cartons
Greens are:
Vegetable, fruit and other plant waste
Bread and crackers
Coffee grounds, tea
Cooked pasta and rice (plain)
Horse, cow, rabbit, chicken, gerbil, goat, sheep, hamster, pig manure
Weeds & other yard waste
Fresh grass clippings
Alfalfa hay
Decomposition of organic matter in the compost pile is accelerated by maintaining a 2:1 ratio between browns and greens. By adding twice as much brown material as green material to the compost pile. Don’t worry about measuring; just add twice as many browns as greens to your pile.
2. O -Oxygen
Once your small bin starts to fill up, you will need a larger, outdoor bin in which to dump the materials and begin the actual composting process. Store-bought bins are quick and easy to set up, but they can be expensive. You can compost for free or nearly free by creating a large pile or organic materials in a protected area. or building a chicken wire or wood pallet enclosure.
Once a compost pile is established, microscopic organisms immediately begin to take up residence and to break down the organic materials in the bin. Nearly odorless composting can be accomplished by encouraging the proliferation of the right kids of bacteria, those that thrive in the presence of oxygen. Ensuring proper aeration allows the bacteria to have plenty of access to oxygen, resulting in hot composting with no foul odors.
Aeration can be accomplished in two ways.
First, compost bins need to have plenty of openings that allow good air circulation. Sealed containers putrefy, so it is helpful to select a container that has holes or vents (or you can drill some yourself.) The moisture levels in your climate will determine how many and how large the holes should be. Start with a few holes approximately one half-inch in diameter. You can add more later, if necessary to maintain proper moisture levels in your bin.
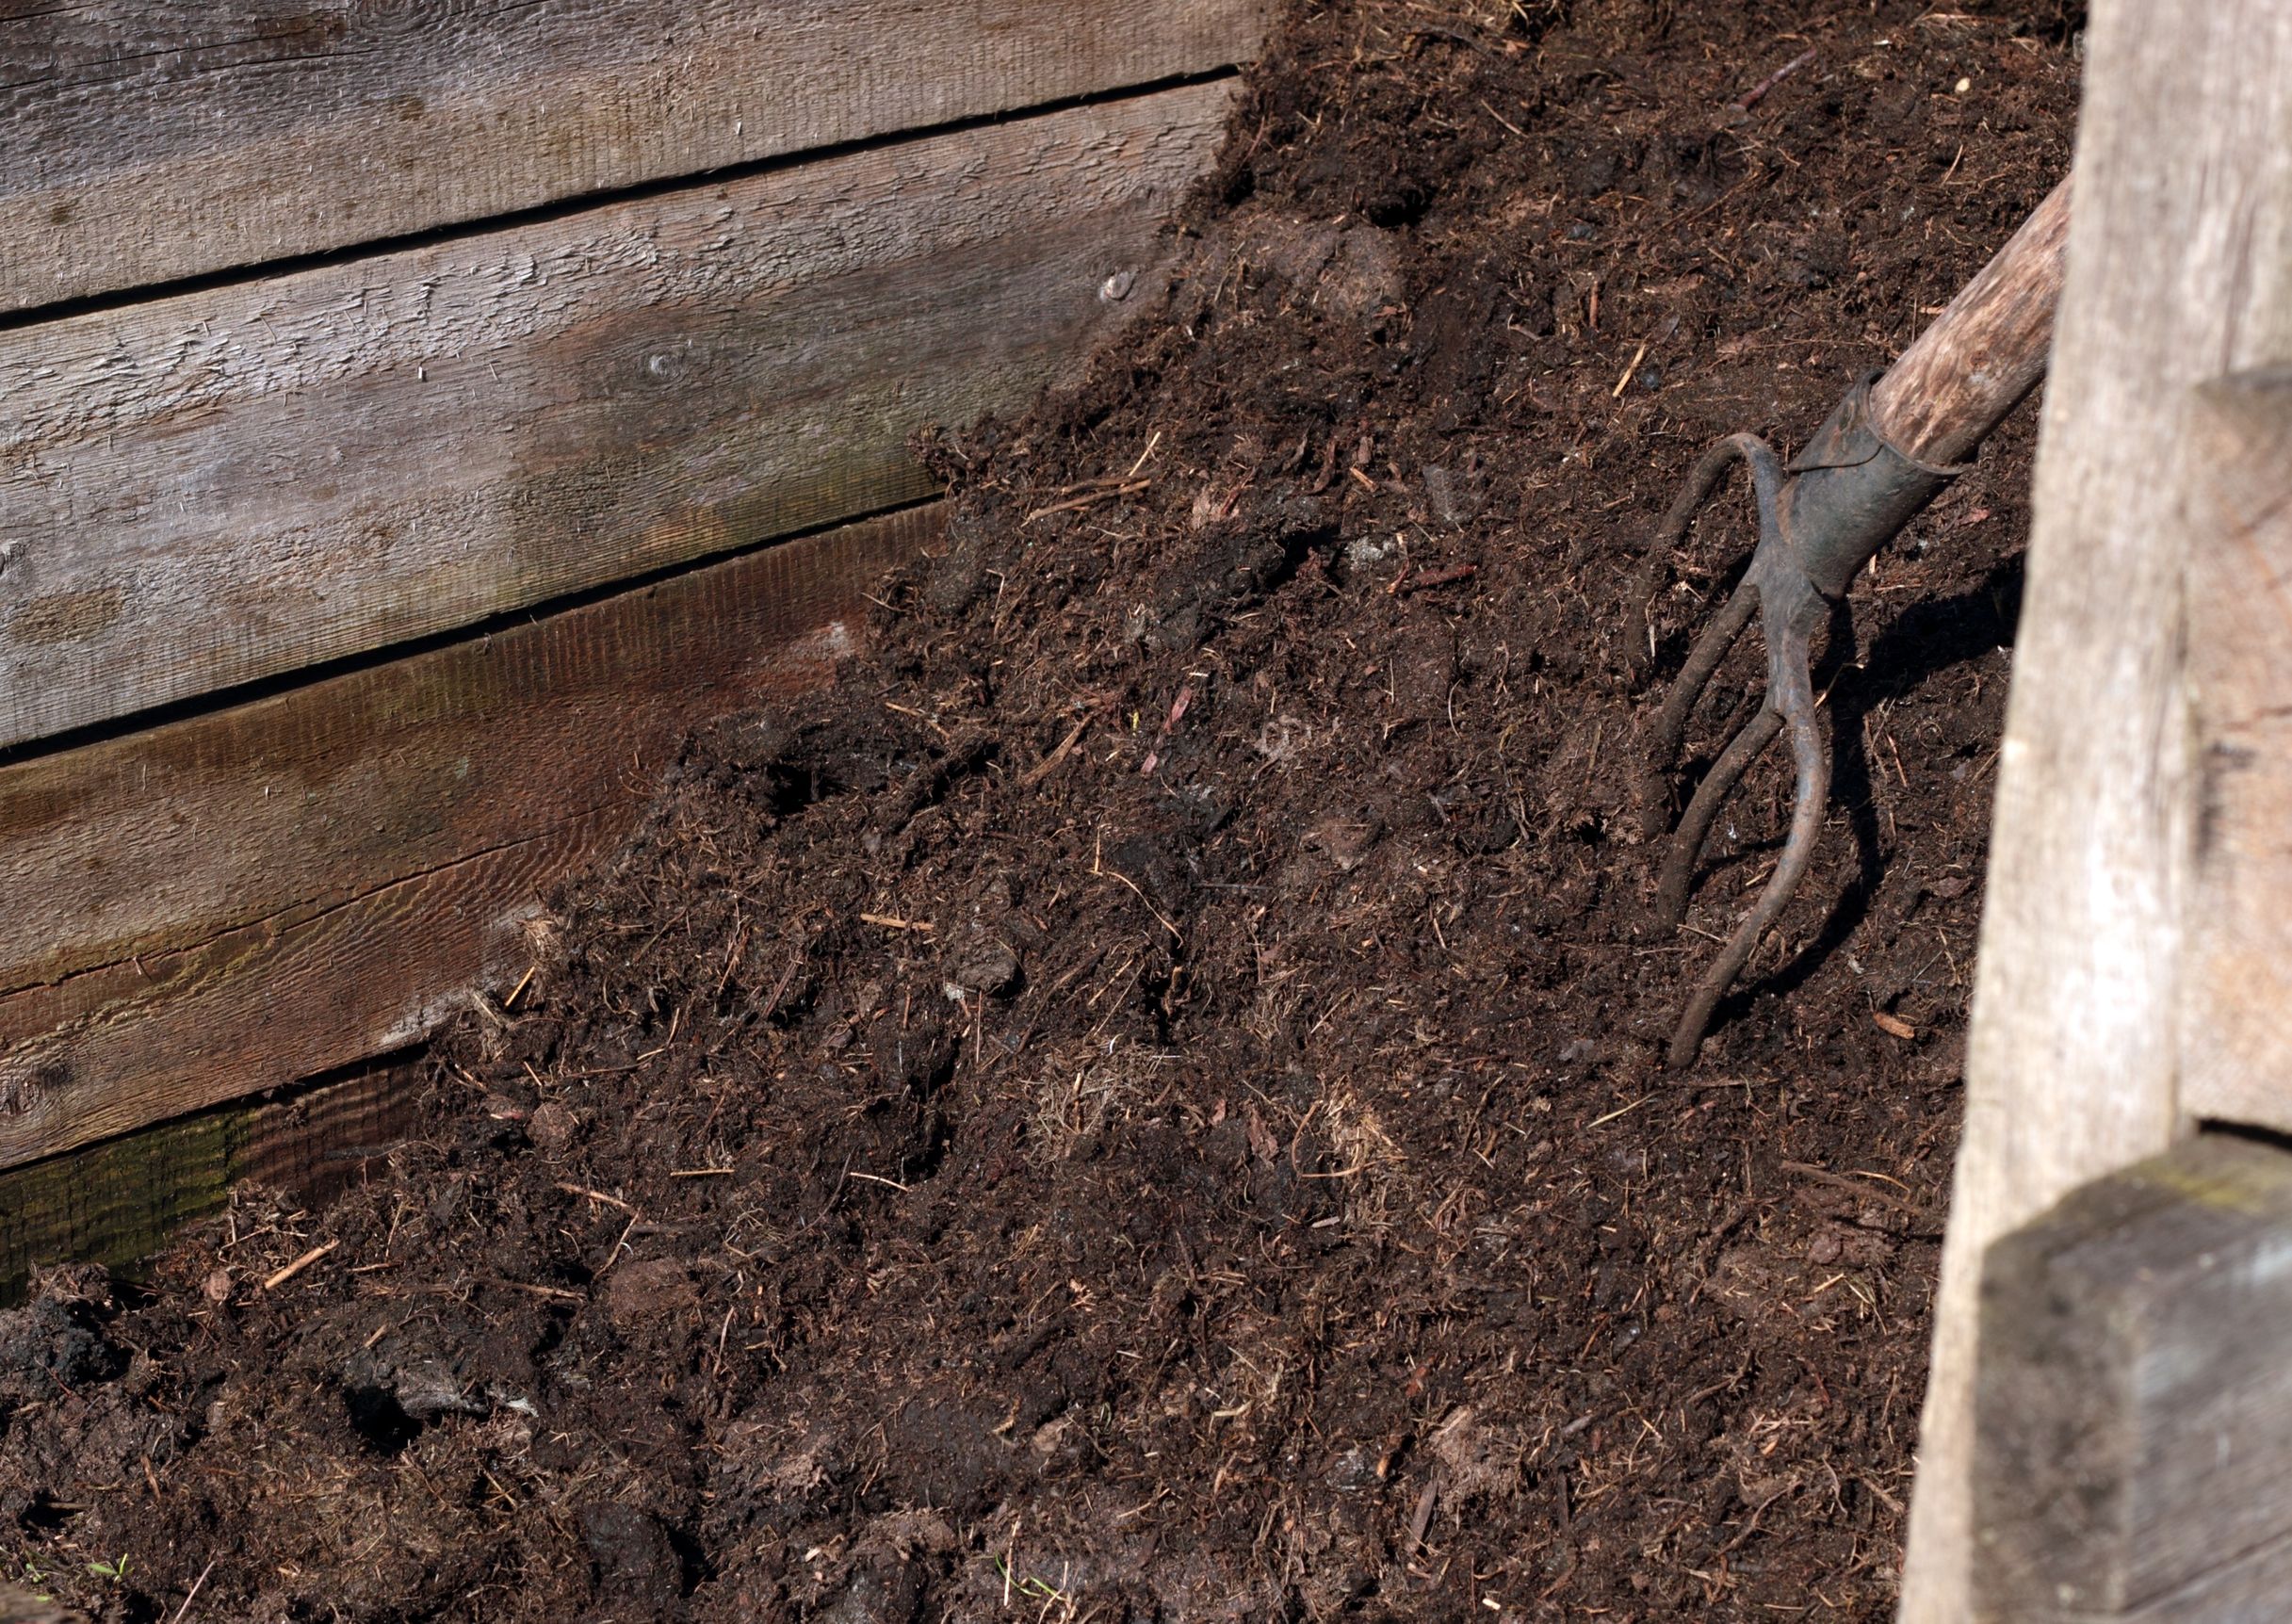
Secondly, turning compost piles regularly exposes all areas of the pile to the air. Turn materials on the outside of the pile into to the center, and move materials in the interior of the pile to the outside. By doing so, all parts of the pile will have periodic access to air circulation.
Turn piles by removing the contents of the bin, mixing up the materials, and then returning contents to the bin. Alternatively, there are many types of tools that help to turn compost without the necessity of removing it from the bin. These tools work either by stirring materials or removing the inner core. allowing contents on the outer edges to fall into the center of the pile.
3. M -Moisture
Thermophilic bacteria need water to survive, and dry conditions halt biological activity. Check your pile regularly to prevent it from drying out, adding water when it is needed. The goal is to keep the pile as moist as a wrung-out sponge; not too dry, but not waterlogged. Soggy conditions can clog up air passages, preventing proper aeration, which can contribute to mold growth and putrid odors. If the pile becomes waterlogged or develops an unpleasant odor, add dry shredded paper or sawdust to absorb excess moisture, and turn the pile.
4. P -Particle Size
Accelerate the composting process by cutting or shredding organic materials before you add them to the pile. This can be as simple as chopping spoiled veggies before throwing them in the bin, or clipping weeds into one-inch sections as you add them to the pile. Run a lawn mower over dried leaves or use a wood chipper to sherd small branches. This will create lots of surface area that microorganisms can attack.
Note that while the bulk of the pile should be small-sized pieces, a little bit of size diversity is also helpful. Some larger pieces of straw, small sticks or other strong, fibrous materials distributed throughout the pile will help to keep the contents from becoming matted and will provide openings and tunnels for air to infiltrate the contents. They also serve to keep the pile loose, making it easier to turn.
5. O -Odor
If your compost pile begins to emit an unpleasant odor, it is not cause for alarm, but an early-warning sign that some element of the pile needs adjustment. Once the problem is corrected, the odor will dissipate and healthy decomposition with resume.
Common reasons for unpleasant compost odors are related, and they are simple to detect. The first is excess moisture. Waterlogged conditions prevent access to air, causing the pile to switch from odorless, aerobic decomposition to sulfuric, anaerobic decay that smells like rotten eggs.
A related reason for smelly compost is excess green material in the pile. Greens break down quickly, releasing nitrogen that gives off an ammonia odor. The smell unpleasant, and it is a tell-tale sign that your pile is releasing nitrogen rapidly into the air, polluting the atmosphere with greenhouse gasses and robbing your compost of nutrients.
Both waterlogged conditions and excess green materials can be remedied by decreasing the amount of water and increasing the amount of brown materials that are added to the bin. Turn the pile to improve aeration. After a day or two, the odor should dissipate. But if the odor persists, add more browns and turn the pile again. Once moisture and carbon:nitrogen levels come back into balance, the unpleasant odor will resolve.
6. S -Site
When choosing the ideal site for your compost, there are several considerations to keep in mind.
First, select an accessible, convenient location. The site should not touch the house, as potential pests and odors may enter your living space. Neither should the site be too distant for convenience. Place the compost bin in an area which you visit frequently.
Secondly, because you will be wetting the pile regularly, close proximity to a spigot and hose will make the task easier. If your air conditioning unit is located on the roof, placing the pile underneath the the condensate water drip may be an easy method to keep the pile moist during the summer months. If you have pets or livestock, locate the compost pile nearby so that you can dump old water and rinse water onto the pile (and bedding materials, too!) Or, if an automatic irrigation system waters your garden, run a line to the compost pile.
Locating your compost pile near the garden makes it easy to collect plant trimmings. And when it is time to return finished compost materials back to the garden, they don’t have to be transported far.
7. T -Temperature
The temperature of the pile determines how rapidly the materials will break down and how quickly the finished materials can be safely used in the garden. Compost that is ignored will decompose of its own accord, but at a much slower rate than it would in a well-tended pile. Additionally, the pile will not heat up to temperatures that destroy pests, diseases and weed seeds lurking in the pile. Consequently, the compost materials must go through a much longer curing period to ensure that pathogens and pests have adequately dissipated.
During decomposition, the pile temperatures will fluctuate. Check the pile every few days for progress and turn when the temperature starts to cool, which is a signal that decomposition is stalling. You will be able to feel whether or not the materials are hot, but for greater precision, use a thermometer to indicate exactly when to turn the pile. When decomposition is occurring rapidly, the center of the material will measure between 120 and 150 degrees Fahrenheit. Turn when the temperatures dip.
8. Finished Compost Isn’t Finished
At some point, turning and wetting the pile will no longer bring the temperatures back up and materials will appear to have composted completely. At this point, the compost is finished, but that does not mean that it is ready to add to your garden. Allowing the compost to sit undisturbed is known as curing the pile. Allow the pile to cure for several months, or even as long as a year, before using it in the garden. Patience pays off, because compost improves with age. By allowing compost to cure over time, beneficial microorganisms are able to out-compete pathogenic strains and nitrogen is broken down into forms that will not burn plants.
Finished compost can be removed from the bin and cured on the ground so that you can use the bin for a new batch. Loosely cover the curing compost with a tarp or a ild to protect it from erosion and weather extremes.

