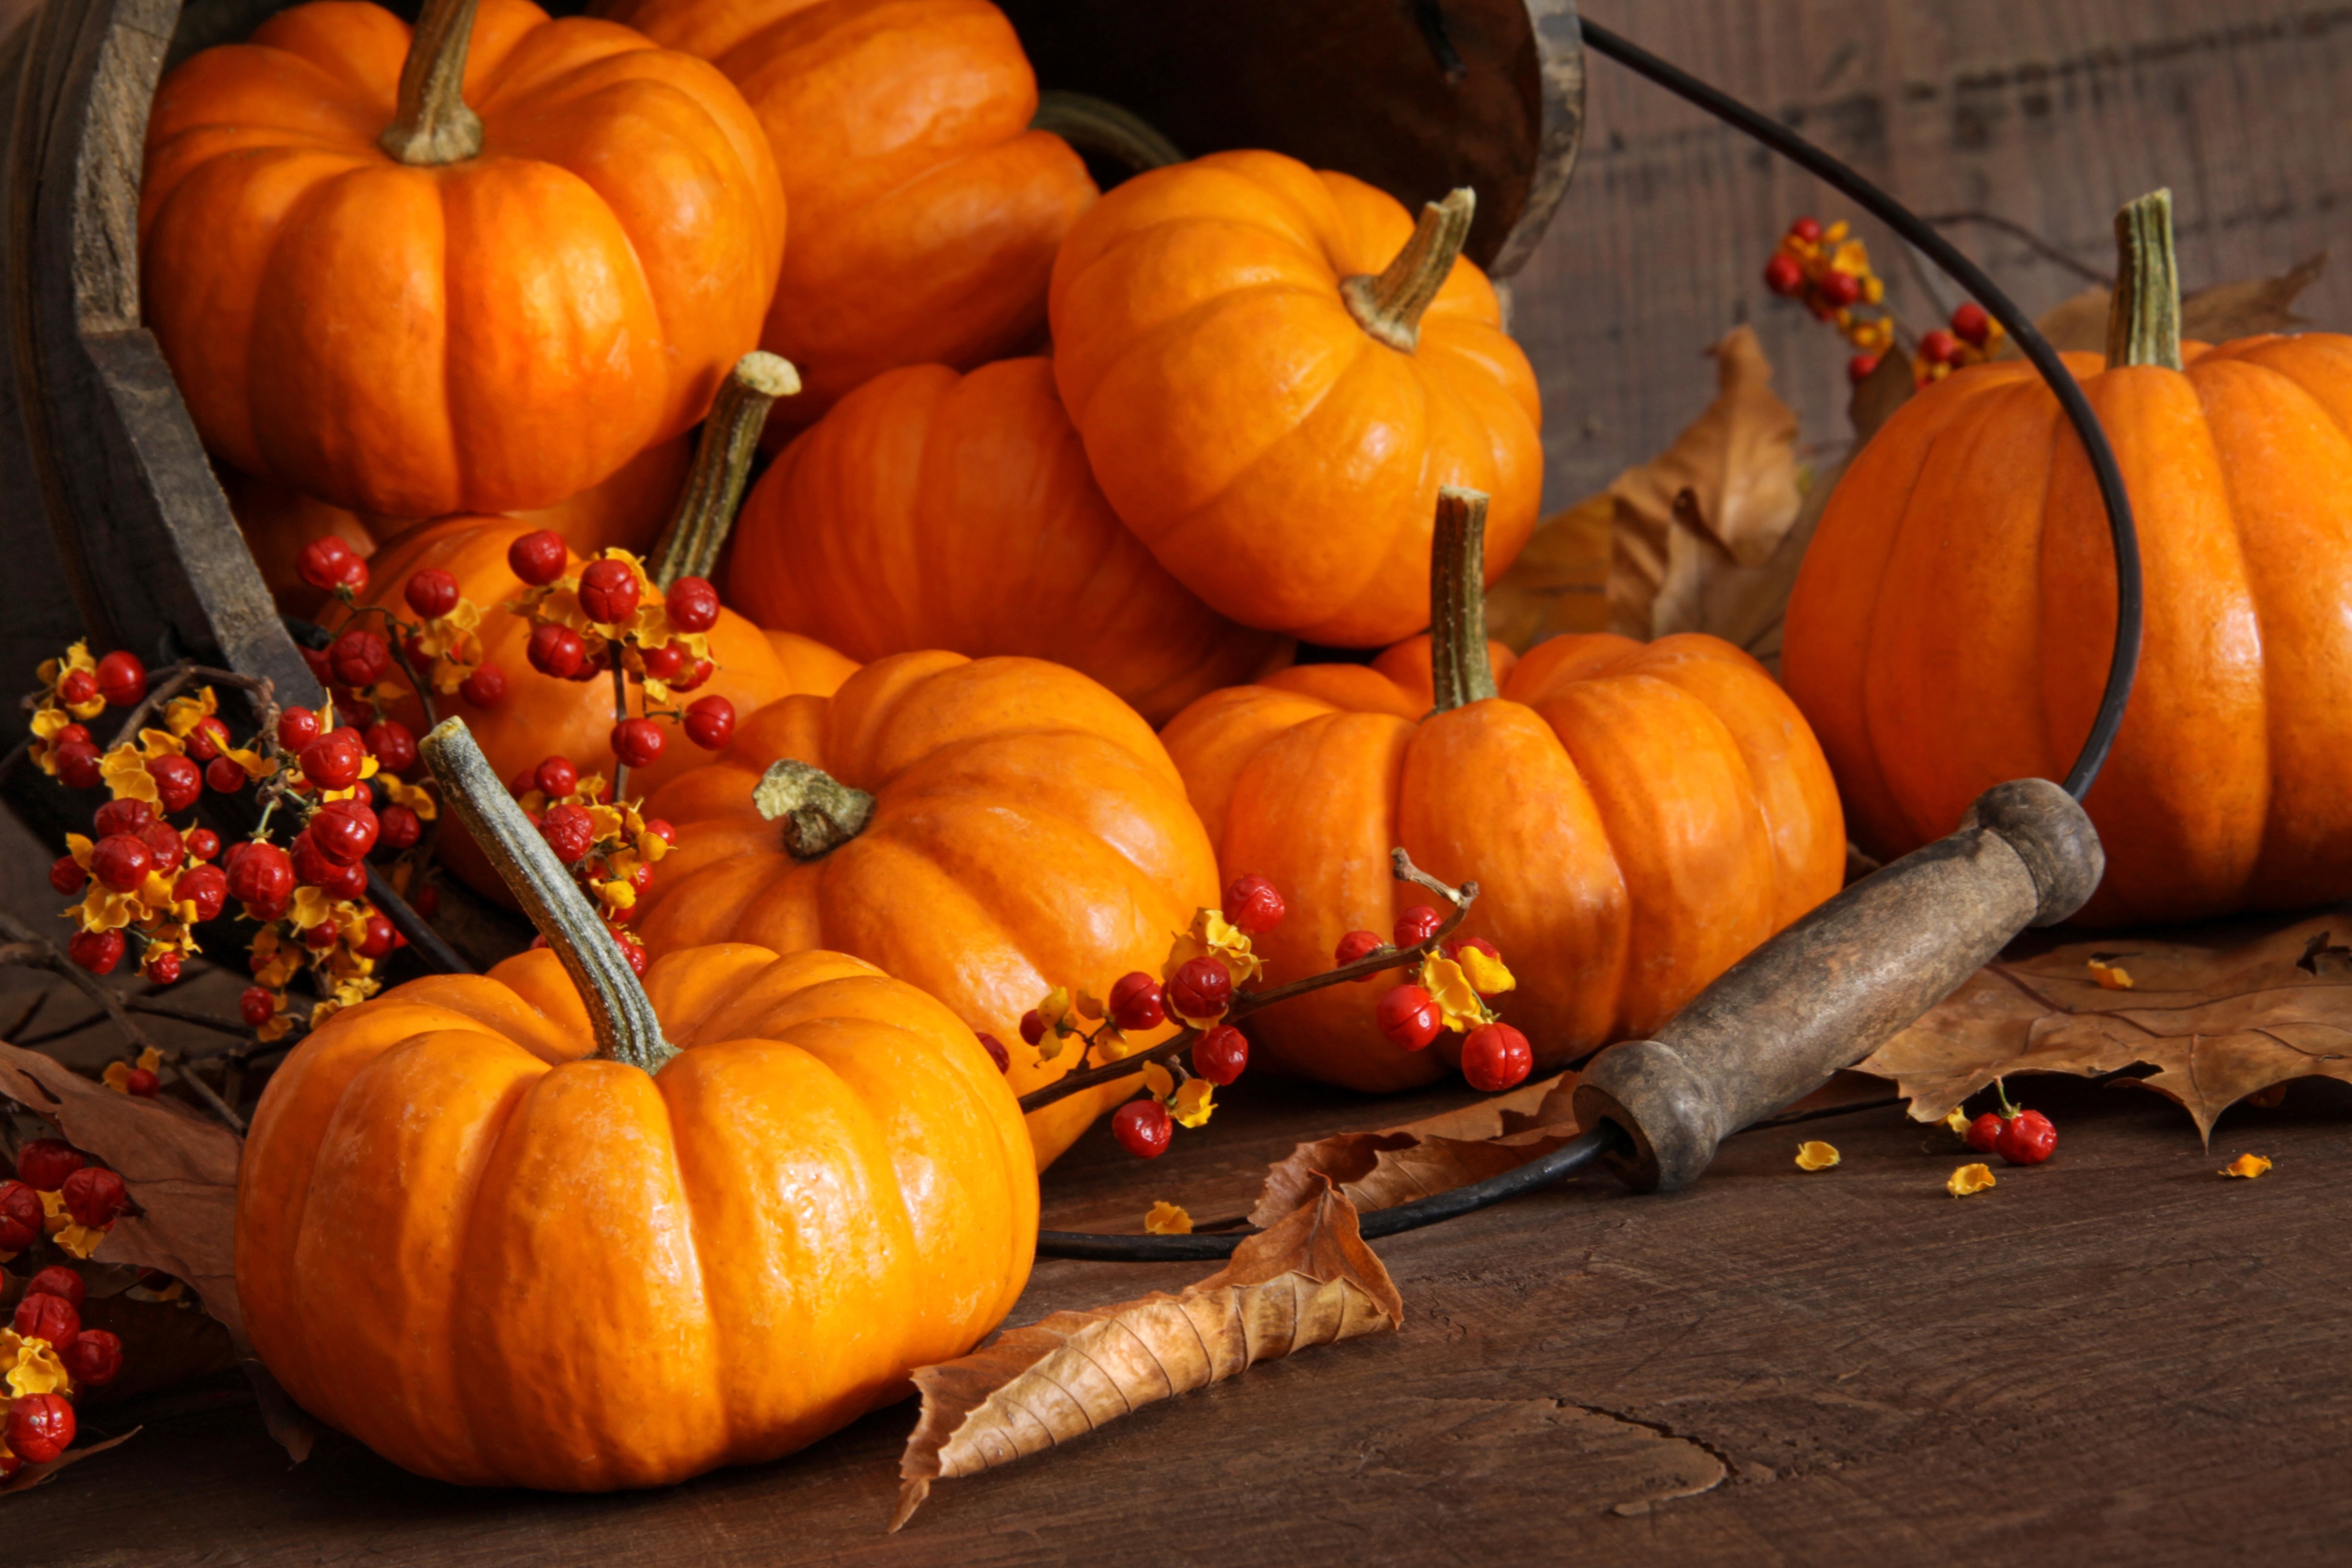
Grow Pumpkins Naturally!
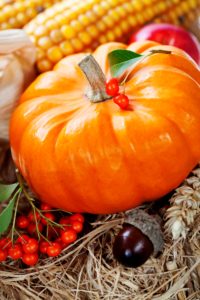
At the close of a long hot summer, the appearance of the pumpkin heralds the welcome arrival of autumn. The classic symbol of fall appears everywhere, from Jack-O-Lanterns on porches to pumpkin specialties on restaurant menus. More than just the emblem of ancient folklore or a delicious, seasonal flavor for all kinds of foods, the pumpkin packs a nutritional punch, supplying a rich source of vitamin C, vitamin A, fiber, and potassium. Its distinctive orange color signals that it contains high levels of beta carotene, the precursor of vitamin A that supports heart health, reduces the incidence of cancer and slows the degenerative effects of aging. All of this nutrition is delivered in a delicious food that adds only 49 calories per cup to the diet. (Urbanext.illinois.edu, 2013) You can grow pumpkins at home.
The kings of the fall garden, pumpkins demand a large amount of real estate in which to grow, generous quantities of water, fertile compost-enriched soil, and ample sunlight. In exchange, the gardener is rewarded with a harvest of pumpkins that are nutritious, delicious, and versatile for many kinds of recipes. In addition, they serve as lovely fall decor and store for months without need of refrigeration.
Here’s how to grow pumpkins.
The Best Time to Plant Pumpkins
Though associated with the cool temperatures of autumn, pumpkins are actually a warm season vegetable. Seeds will not germinate in cold soil and tender seedlings are easily damaged by frost, so it is best to refrain from planting until all danger of frost has passed. In cool climates, it may be helpful to warm the soil one week before planting by covering it with black plastic. To plant, cut one-inch holes in the material and plant through the openings. In northern regions of the United States, plantings are generally made in late May, or in early July for southern regions.
Types of Squash: Summer vs Winter Squash
 How to Plant Pumpkins
Enrich the garden soil with generous amounts of compost or composted manure. Plant pumpkin seeds one-inch deep in mounds or rows spaced 3-5 feet apart, depending on the variety. To ensure good germination rates, place four or five seeds per hill, thinning to one or two healthy seedlings per hill as they begin to grow and develop several leaves.
Pumpkin vines grow quickly, snaking in every direction for several feet. To keep your garden from being engulfed by vines, dedicate a large area just for pumpkins, or site plants near the edges of the garden so that the aggressive vines can be directed away from other plants. As pumpkins begin to develop, support them on a thick piece of newspaper, a carpet square or cardboard to discourage rot that occurs when the tender skin comes in contact with the soil underneath. It’s also possible to trellis vines off of the ground, though the ripening fruits will need strong slings to support them as they grow heavy.
Pumpkin Varieties and Seeds
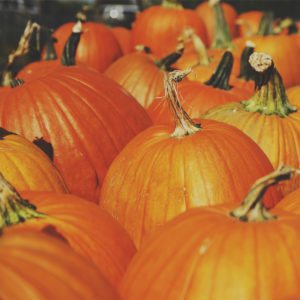
Pumpkins come in all sizes, from mammoth to tiny decorative pumpkins. Smaller pumpkins tend to taste and cook up better for pies as they have a lower moisture content. Larger pumpkins are fantastic for Jack-O-Lanterns and decor. Because it can take up to four months for pumpkins to mature, consult a planting calendar and put them in as early as is recommended for your area.
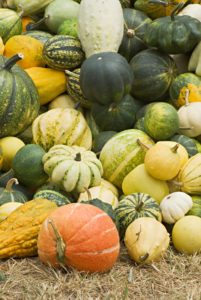
Want to save your own seeds? Select an heirloom or open-pollinated variety that will grow true the second season. There are so many beautiful heirloom pumpkins, with interesting blue, green, white and red colors, besides the standard orange.
Watering Pumpkins
Pumpkins require one-inch of water per week, especially when flowers and fruits are forming. Though they are able to tolerate short dry spells, a regular, deep watering schedule will help pumpkins to grow large in size, at an even growth rate that prevents splitting. Water the soil around the plant stem using a drip system or soaker hose, and avoid wetting the leaves and fruits in order to deter the development of fungal diseases.
The ideal time of day to water is early in the morning. During the afternoon heat, pumpkin leaves will often wilt, and then perk up again as the sun begins to set. This is normal and is not necessarily a sign that the plant is thirsty. However, if you notice wilting before noon, it may be a sign that the plant needs more water. A good rule of thumb is to use a water meter or feel the soil for moisture before watering. If the top few inches of soil are nearly dry, it is time to water. If the soil is wet, refrain from watering.
Feeding (Fertilizing) Pumpkins
Amend the soil regularly with a layer of compost or composted manure. A few inches of compost can either be spread on top of the soil or piled in trenches between planting mounds. During early plant growth, the use of a high nitrogen fertilizer will encourage pumpkins to grow healthy vines and leaves. Begin to fertilize when plants are about one foot tall. Watch closely for signs that flowers are beginning to form. Then, to encourage blooms, switch over to a product that has less nitrogen and more phosphorous, such as a “bloom booster” fertilizer. Too much nitrogen at the bloom stage can cause vines to continue to grow leaves at the expense of flowers, which will result in a diminished harvest.
 Increasing Pumpkin Size and Yields
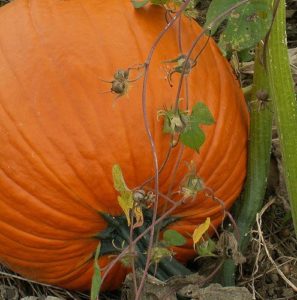
To increase the size of your pumpkins, pinch off the fuzzy ends of the vines when they begin to set fruits. This will halt lateral vine growth and focus the plant’s energy on producing large-sized pumpkins. Maximizing the size of giant varieties is accomplished by removing all but one or two female flowers from each vine. By doing so, all of the vine’s energy is concentrated on growing one or two mammoth-sized pumpkins.
Some gardeners prefer to take the opposite approach, attempting to increase yields by removing all female flowers (those that have a small swelling at the base of the bloom) for the first 3 weeks. The intent in doing so is to produce a hardier vine that is able to support greater numbers of fruits, although the trade-off is that the pumpkins will generally be smaller in size.
Photo credit: Cindy Funk on Flickr.com
Weeds
Pumpkins do not thrive if they have to compete with weeds for water and nutrients. Keep the rows and mounds free of weeds, but be mindful of aggressive cultivation. Pumpkins have shallow roots that are easily damaged by garden tools.
 What to Do If Pumpkins Don’t Set Fruit
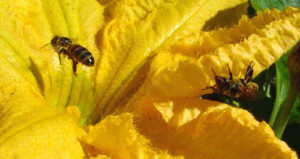
A common complaint amongst gardeners is that their pumpkins (and other cucurbits, such as cucumbers and melons) have blooms, but are not setting fruit. It is helpful to know that the first flowers that appear on pumpkin vines are all male blooms. Their pollen is highly attractive to bees, signaling them to visit regularly so that when the female blossoms begin to appear, the chances of successful pollination are increased. If the vine has just begun to show flowers, all that may be necessary is a little bit of patience until the female flowers appear, and then fruit will begin to set. If, however, after two weeks, no female flowers begin to grow, check moisture levels in the soil. Too much or too little water can equally hinder the setting of blooms. Water deeply, to at least one foot in depth, when the top four inches of soil are dry.
If female blooms are present, but pollination is not occurring, look for the presence of bees and check the daytime temperatures. During daylight hours, bees should buzz busily over your pumpkin vines. When that
is not the case, it is possible to manually aid nature. Swipe the center of a male flower with a clean paint brush to collect pollen. Then transfer the pollen to the center of a female flower to mimic the action of bees. If, however, daytime temperatures hover over 90oF, with night time temperatures in the 70s or above, pollination will be hindered until the weather cools.
 Pumpkin Pests
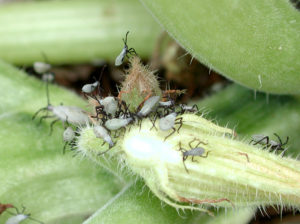
Pumpkin pests include cucumber beetles, appearing green with black stripes or spots. These prolific bugs transmit bacterial wilt disease, causing vines to collapse and die. Other pests include squash bugs, squash vine borers, corn rootworm beetles and aphids. Monitor your plants daily to catch infestations in their early development, deterring the insects with a spray of neem oil, pyrethrum, or other organic treatments. Note that even natural and organic pesticides can be toxic to all insects, including pest predators and bees. Applications should be made at dusk to reduce damage to beneficial insects.
Remove infested plant materials and debris from the garden, and dust the soil with diatomaceous earth (D.E.) to hinder tender nymphs and larvae. Though it feels soft and powdery to humans, D.E.is lethal to young insects. Sharp edges, that we cannot see nor feel, cut the soft exoskeleton of nymphs, like the squash bug nymphs pictured here, and dries out the bodies of larvae. The lifecycle of the pest is halted, hindering their proliferation in your garden.
 Powdery Mildew on Pumpkins
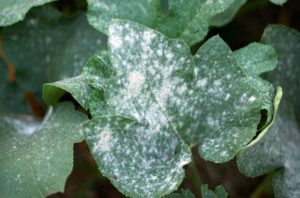
Powdery mildew is a fungus that shows up as gray or white spots on leaves and stems. It is an incurable condition, weakening plants and distorting fruits if not controlled. To curb its negative effects, remove diseased plant material and discard it in a hot compost pile or bag it and throw it away. Spray the remaining plant with a mixture of one part cow’s milk to nine parts water, or one teaspoon baking soda to one quart of water. Either of these mixtures will help to prevent the spread of the disease, and both treatments must be reapplied after rain. Unlike fungal diseases, powdery mildew hates water and it thrives in dry conditions. A regular, hard spray of water on the leaves during dry weather conditions can help to prevent the disease, although this treatment should be done during the morning hours so that the plant has plenty of time to dry before evening.
Photo credit: Jeff Kubina on Flickr.com
Harvesting Pumpkins
Pick pumpkins when the flesh is a deep, solid color, the rind is hard and the skin resists light pressure by your fingernail. The best time to harvest is in late September or early October. But if the vine dies early due to disease or if frost is expected, harvest the pumpkins and keep them in a cool, dry place until October. Use gloves and pruning shears to remove the pumpkin from the vine, leaving a few inches of stem attached. Pumpkins with intact stems not only have a handle, but they also remain fresh longer. Use caution when handling pumpkins as wounds and bruises decrease the amount of time that they will “keep.”
Cured pumpkins taste best and last longer. To cure harvested pumpkins and harden the rind for storage, set them in the sun for ten days. Cover or move them into a shed if rain or frost is predicted. When cured, store pumpkins in a cool place (ideally 50oF,) protected from frost, with none touching another. Pumpkins kept in ideal conditions should last two to three months without spoilage.
 Make Your Jack-O-Lantern Last Longer
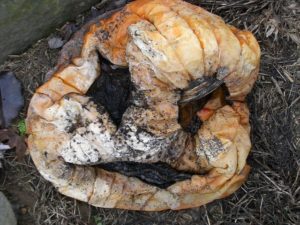
Once carved for Jack-O-Lanterns, pumpkins can rot quickly. Make your carved creations last longer by submerging them in a bucket with a ten-percent bleach solution (one part bleach and ten parts water.) After soaking for ten minutes, remove them from the water and allow them to dry. The bleach will deter decomposing bacteria so that your pumpkin stays fresh. If you notice a black spot growing on the interior, soak the pumpkin again or cut out the spot and spritz the area with bleach solution. Display pumpkins in a cool area out of the sun to ensure that they look lively throughout the season.
Photo credit: justgrimes on Flickr.com
Pumpkin Carving Tools
When I was a child in the 1970s, pumpkin carving consisted of using a kitchen knife to cut three triangles for the eyes and nose, and a crescent for the mouth. Today, pumpkin carving has gone extreme! Intricate patterns and creative motifs adorn the fall landscape. You, too, can be a carving pro with the help of specialized tools that make the job easier. Disposable or one-use tools are available everywhere, but if you carve year after year, it is worth the money to invest in a real set. Here is one that I like.
 Homemade Pumpkin Puree
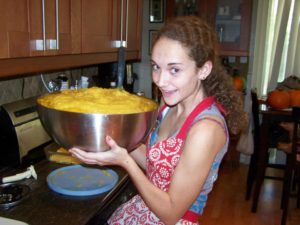
It’s simple to make your own pumpkin puree for soups, pies and other recipes. Homemade puree tastes better and costs less than the canned version. Substitute the same amount of homemade puree as canned in recipes. Here’s how to make it:
1. Start by cutting a pie pumpkin in half and removing the seeds and pulp.
2. Brush the cavity with olive or vegetable oil and sprinkle the flesh with kosher salt.
3. Line a cookie sheet or pan with parchment paper. Lay the pumpkin cut-side down on the pan. Roast for 30-45 minutes in a 400 degree F oven. The pumpkin is done when a knife or fork easily pierces the skin. It’s okay if the skin turns black and bubbles.
4. Remove pumpkin from the oven and allow to cool for one hour.
5. When the pumpkin is cooled, use a spoon to remove the flesh from the skin.
6. Puree the flesh in a blender or food processor until smooth.
7. Store the puree for up to one week in the refrigerator, or for several months in the freezer.
Carve or Cook?
Pumpkins come in many sizes and types. Large pumpkins are great for carving and decor. But they tend to have a high water content and little flavor, making them undesirable for cooking.
Smaller pumpkins, sometimes referred to as ‘pie pumpkins,’ have meatier flesh and better flavor for cooking. But they have harder rinds and can be too small for carving.

