It is so easy and economical to grow onions One of the most useful parts of my garden is definitely my onion bed. Onions are used almost daily in my kitchen. Growing them is like having an onion bank in the backyard to visit any time that I need one. There is no need to put onions on the grocery list. Trips to the store for an emergency onion are eliminated!
Why I Grow Short Day Onions at The Micro Farm Project
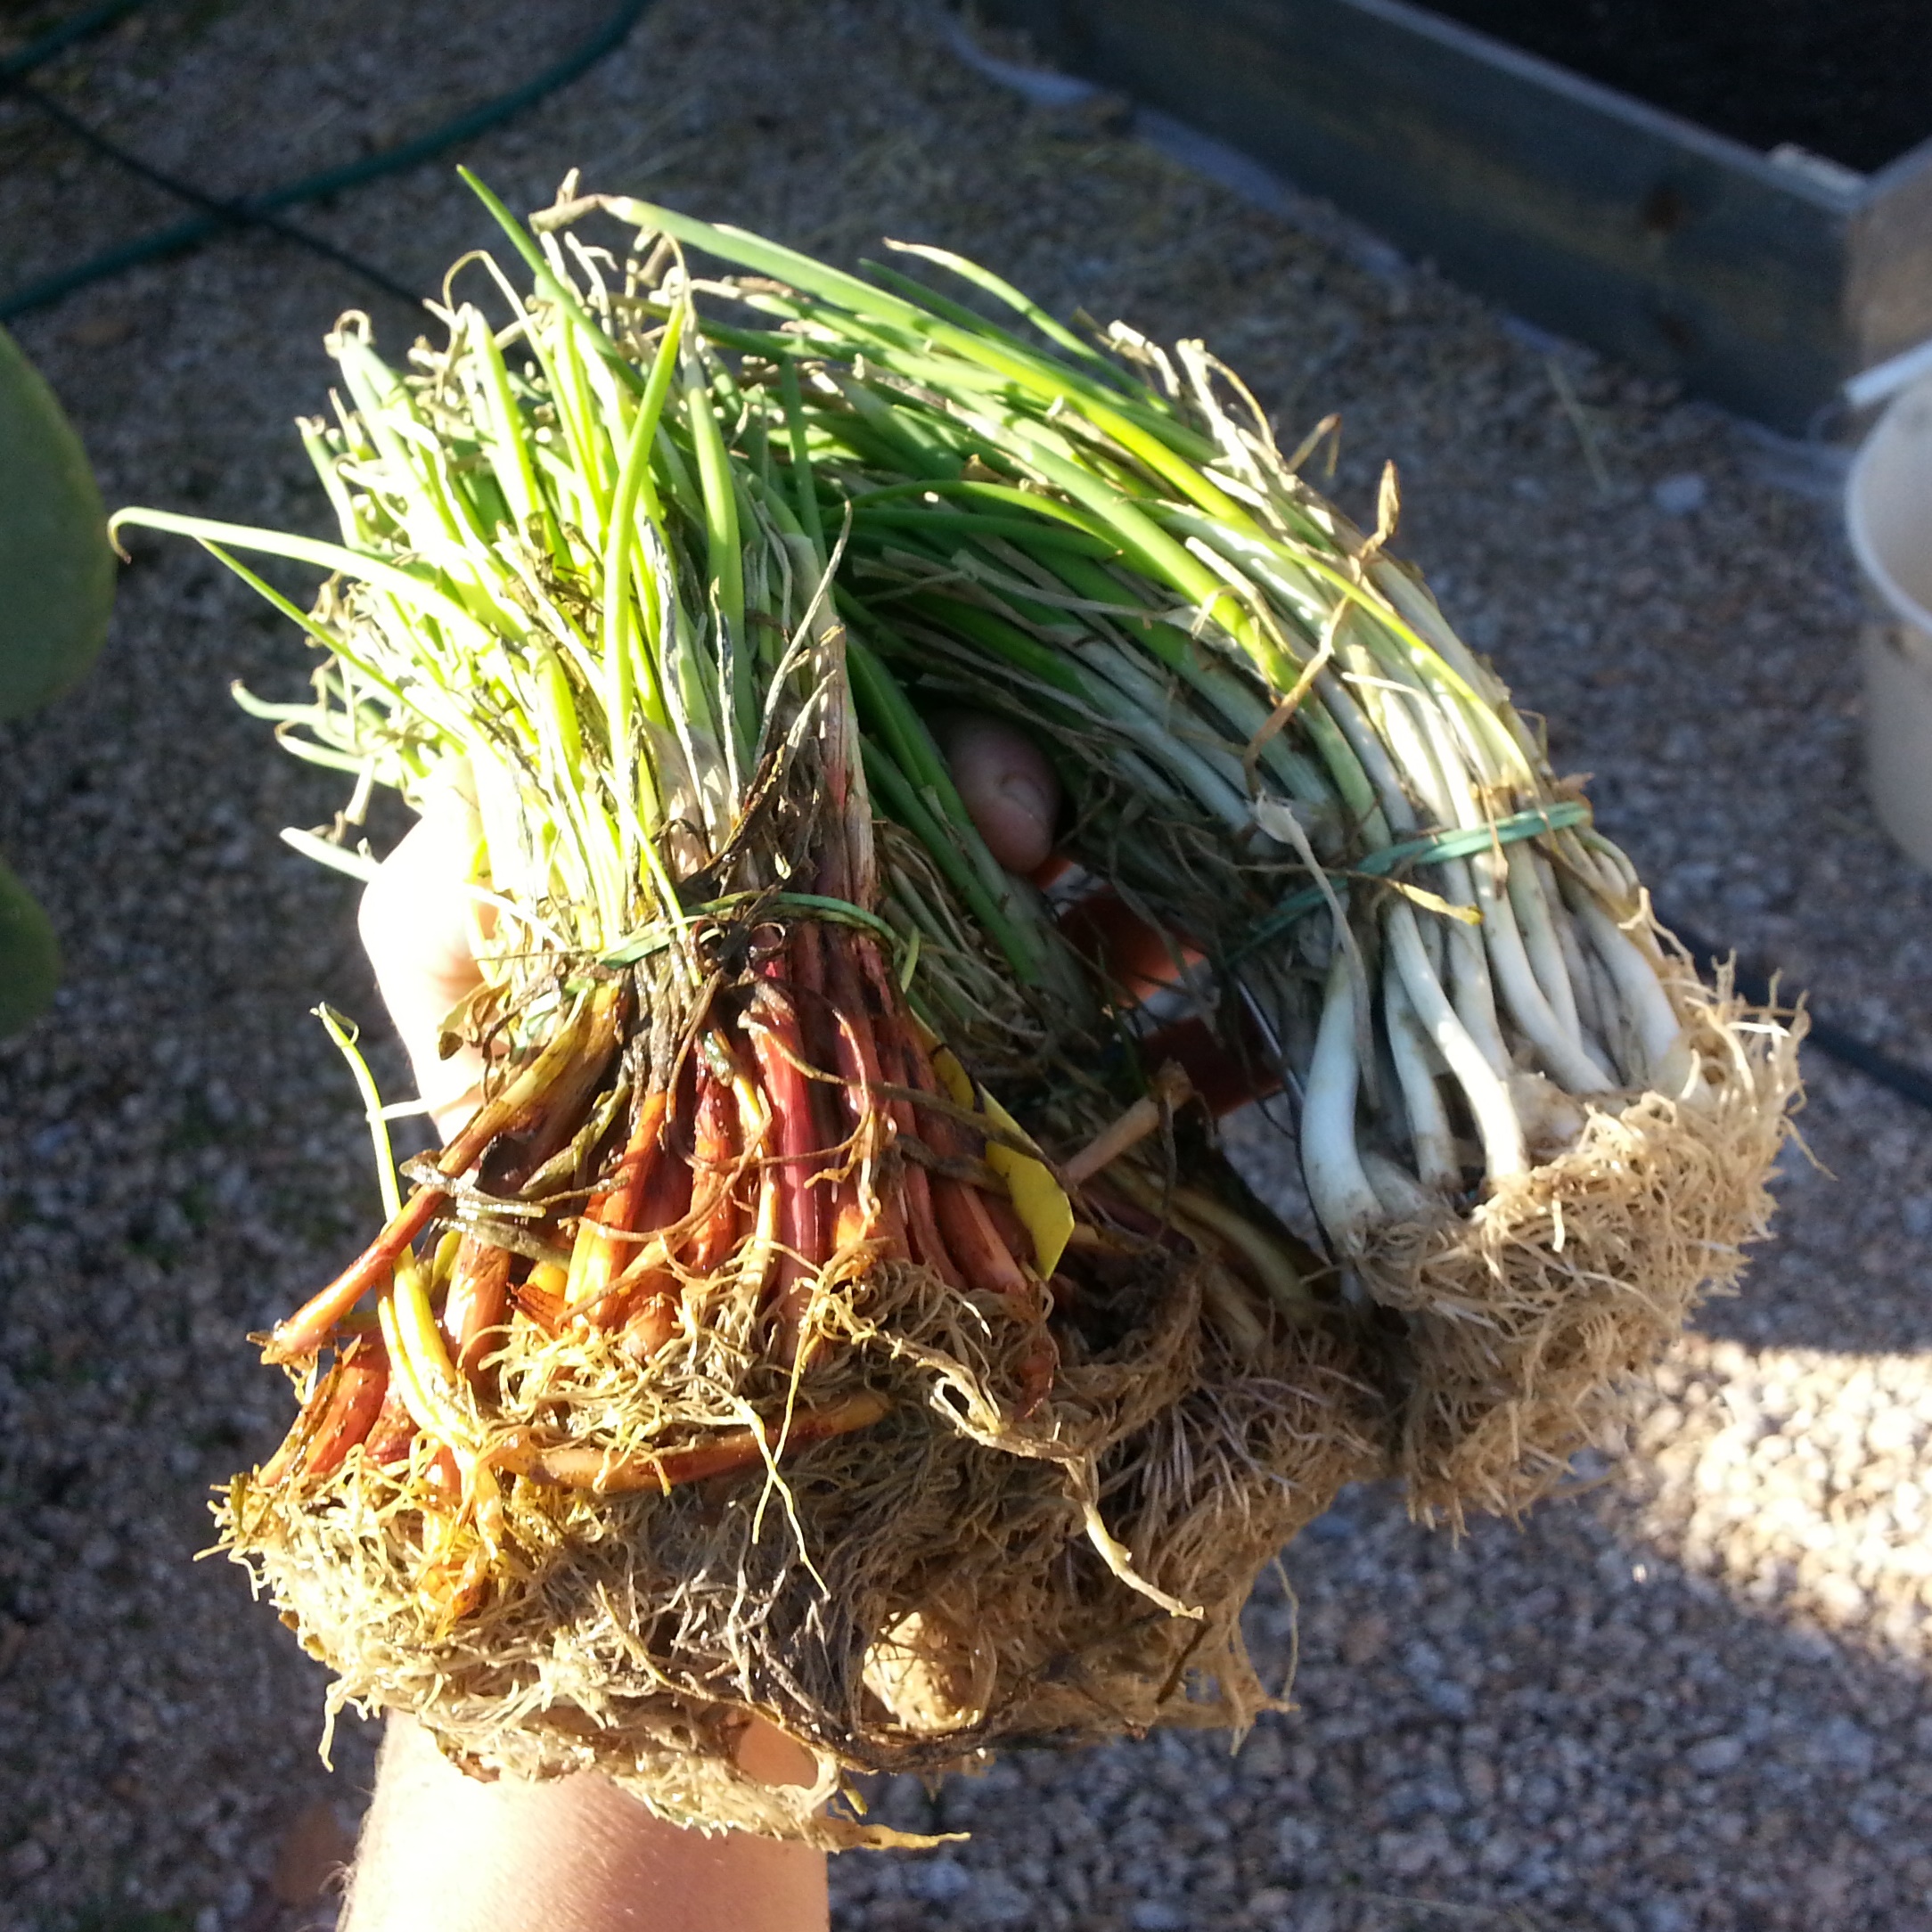
We tend to buy onion sets in bulk as we are preparing to grow onions. I recently came into approximately 200 onion sets, thanks to Steve from The Style Nursery. In red, yellow and white, all three varieties are short day onions. Short day means that they will grow and make bulbs when the days are shorter than 12 hours in length. I avoid growing long day onions that require at least 14 hours of sunlight daily to form bulbs. Below, I will explain the connection between day length and temperature. Check with your local Master Gardeners if you are not sure what type of onion is appropriate to grow in your climate.
The Right Temperatures to Grow Onions
When you grow onions, temperature plays a key role. Onions require temperatures between 55 degrees and 75 degrees Fahrenheit to set bulbs. These optimal temperatures occur where I live in Phoenix during the winter months, when the days are short. I have made the mistake of not paying attention to the day length requirements for the onions that I planted. This generally resulted in inadvertent long day plantings. Unfortunately, the improper plantings never set bulbs because the days were too short when the temperatures were right. After a season or two of disappointment, I did some research. I finally realized that I MUST plant short season varieties in our particular climate if I want anything more than plants of “green onion” size.
Crossing my fingers for a bumper crop this year.
Onion Bed Failures
I planted onions from seed in the fall. But the sheep escaped and rampaged through the garden, decimating the plants. We also brought home a couple of puppies who love to eat onions. I decided to replant in the front yard, away from marauding animals. At this writing, it is January, and the temperatures are too cold to grow from seed. However, the weather is perfect for setting bulbs. So I was very happy to receive onion sets. The sets have already grown leaves and are ready to put energy into growing bulbs.
 How to Plant and Grow Onions
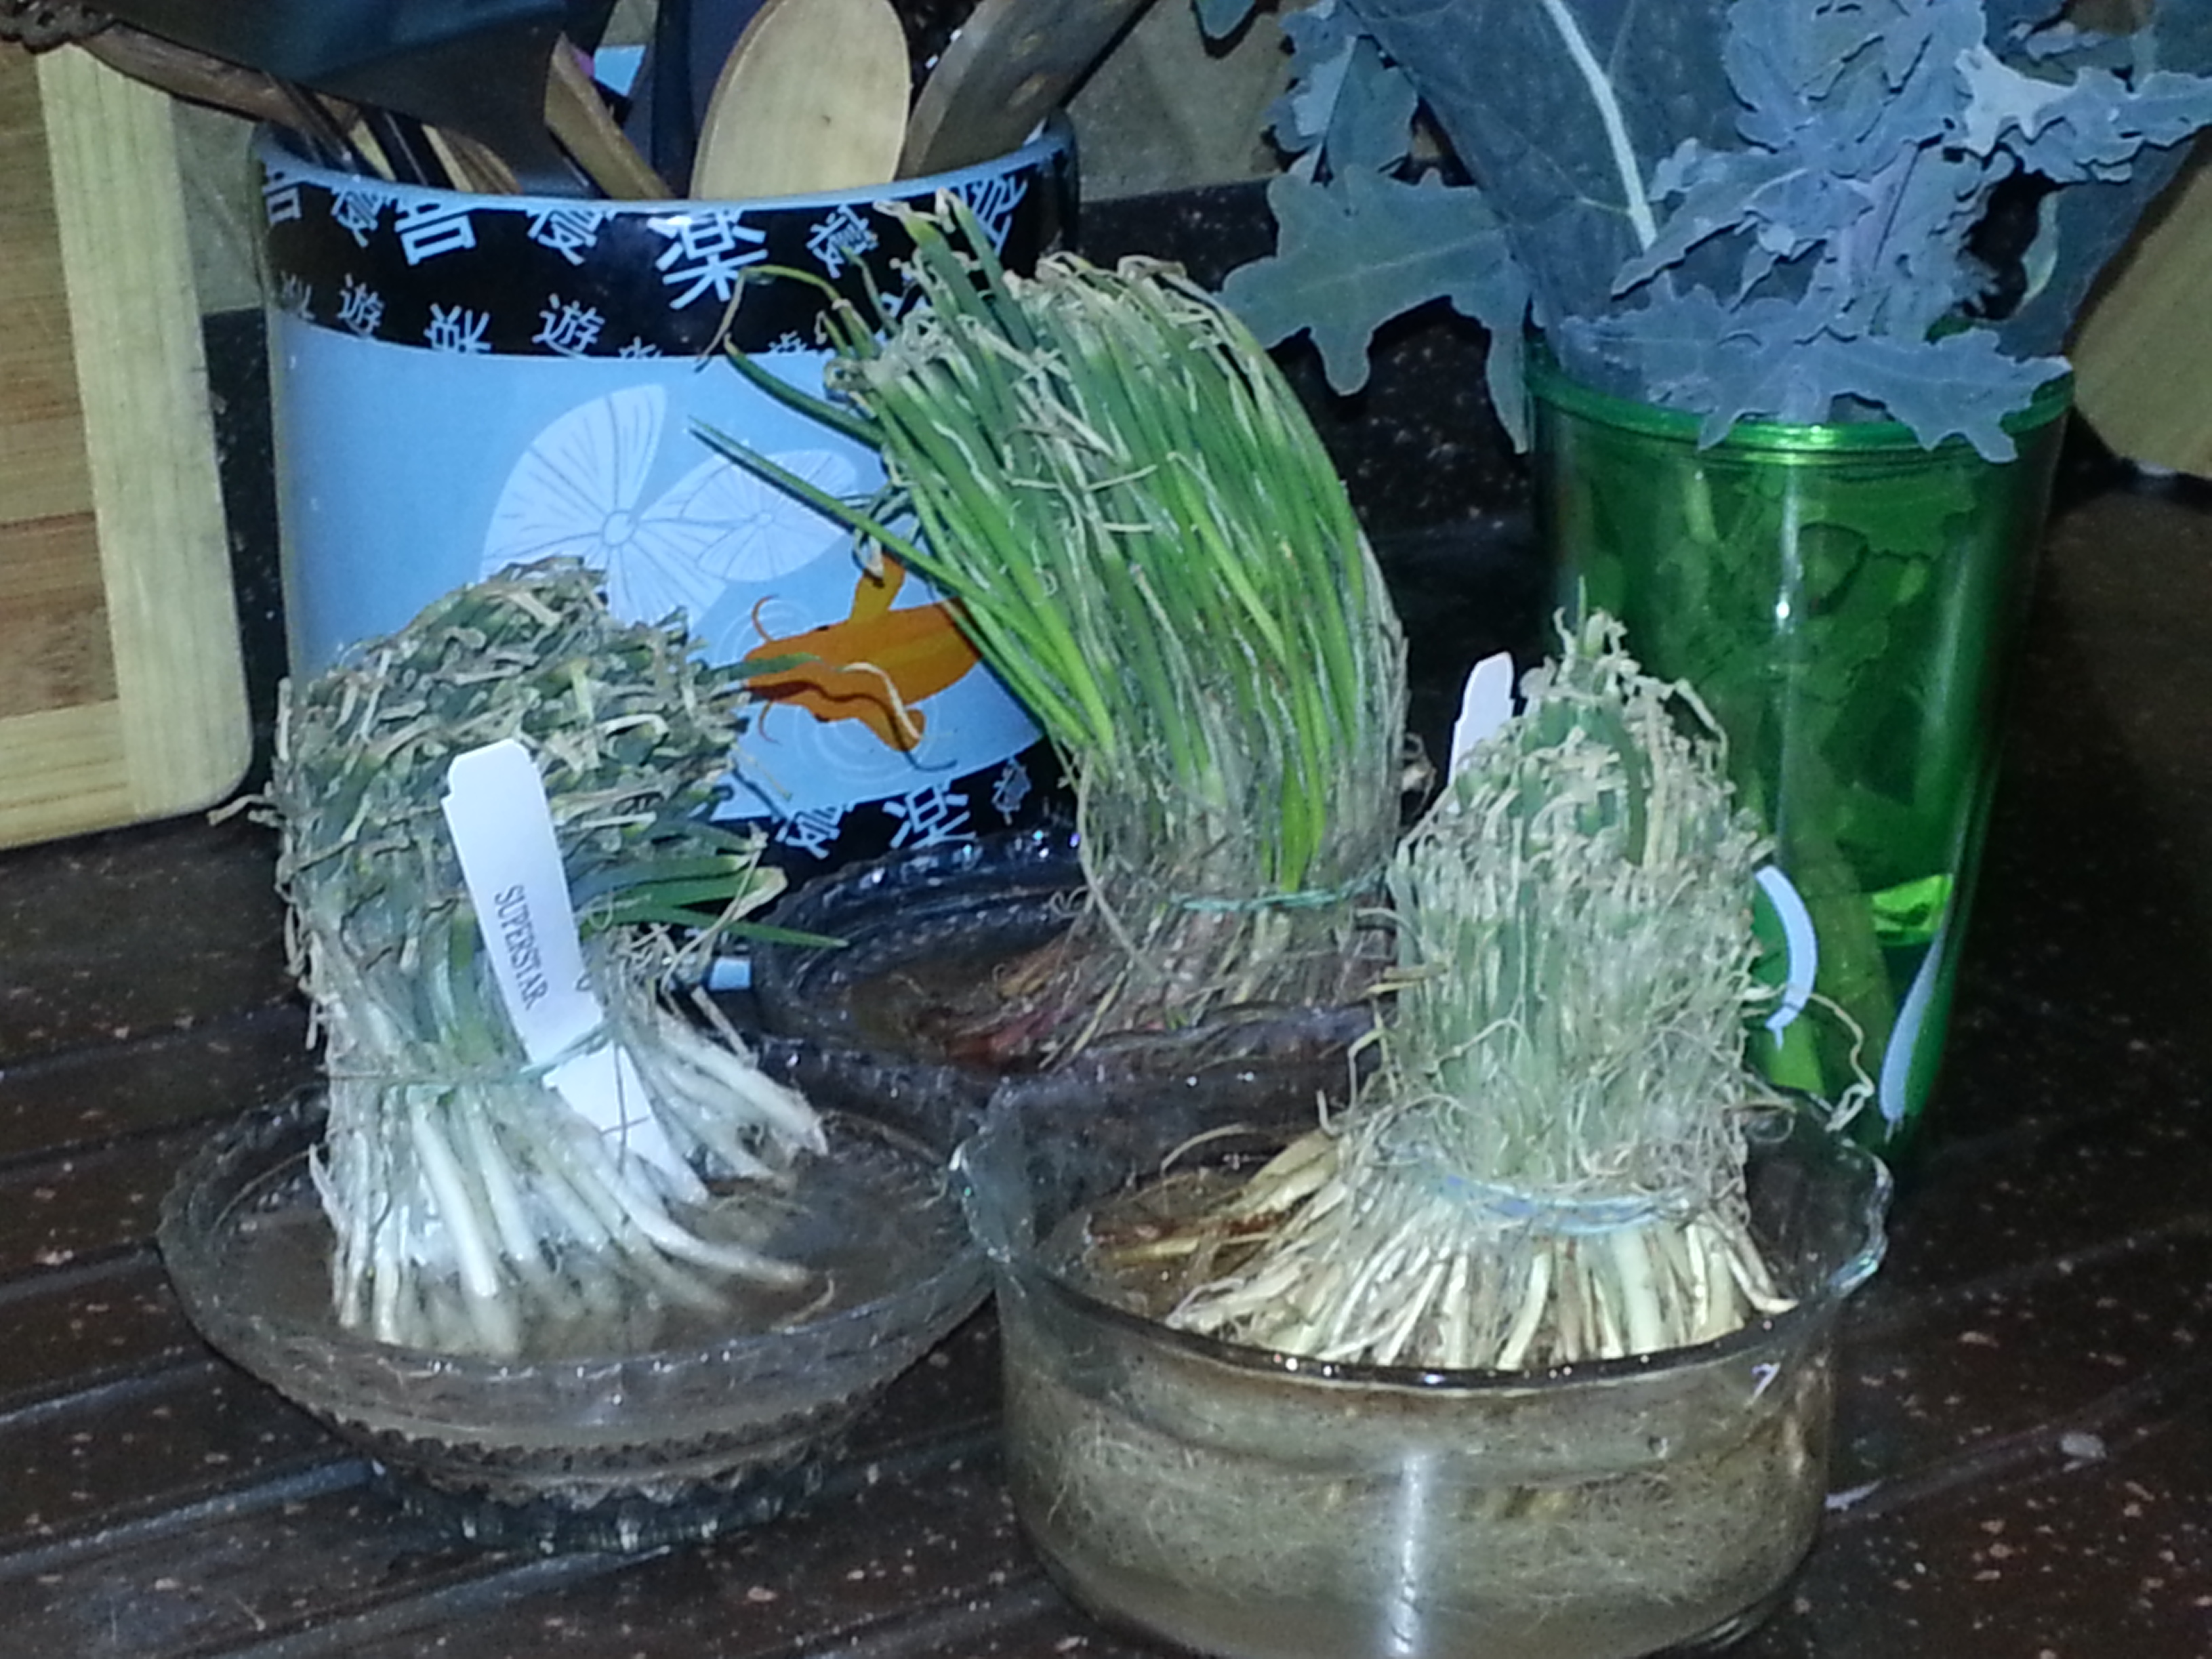
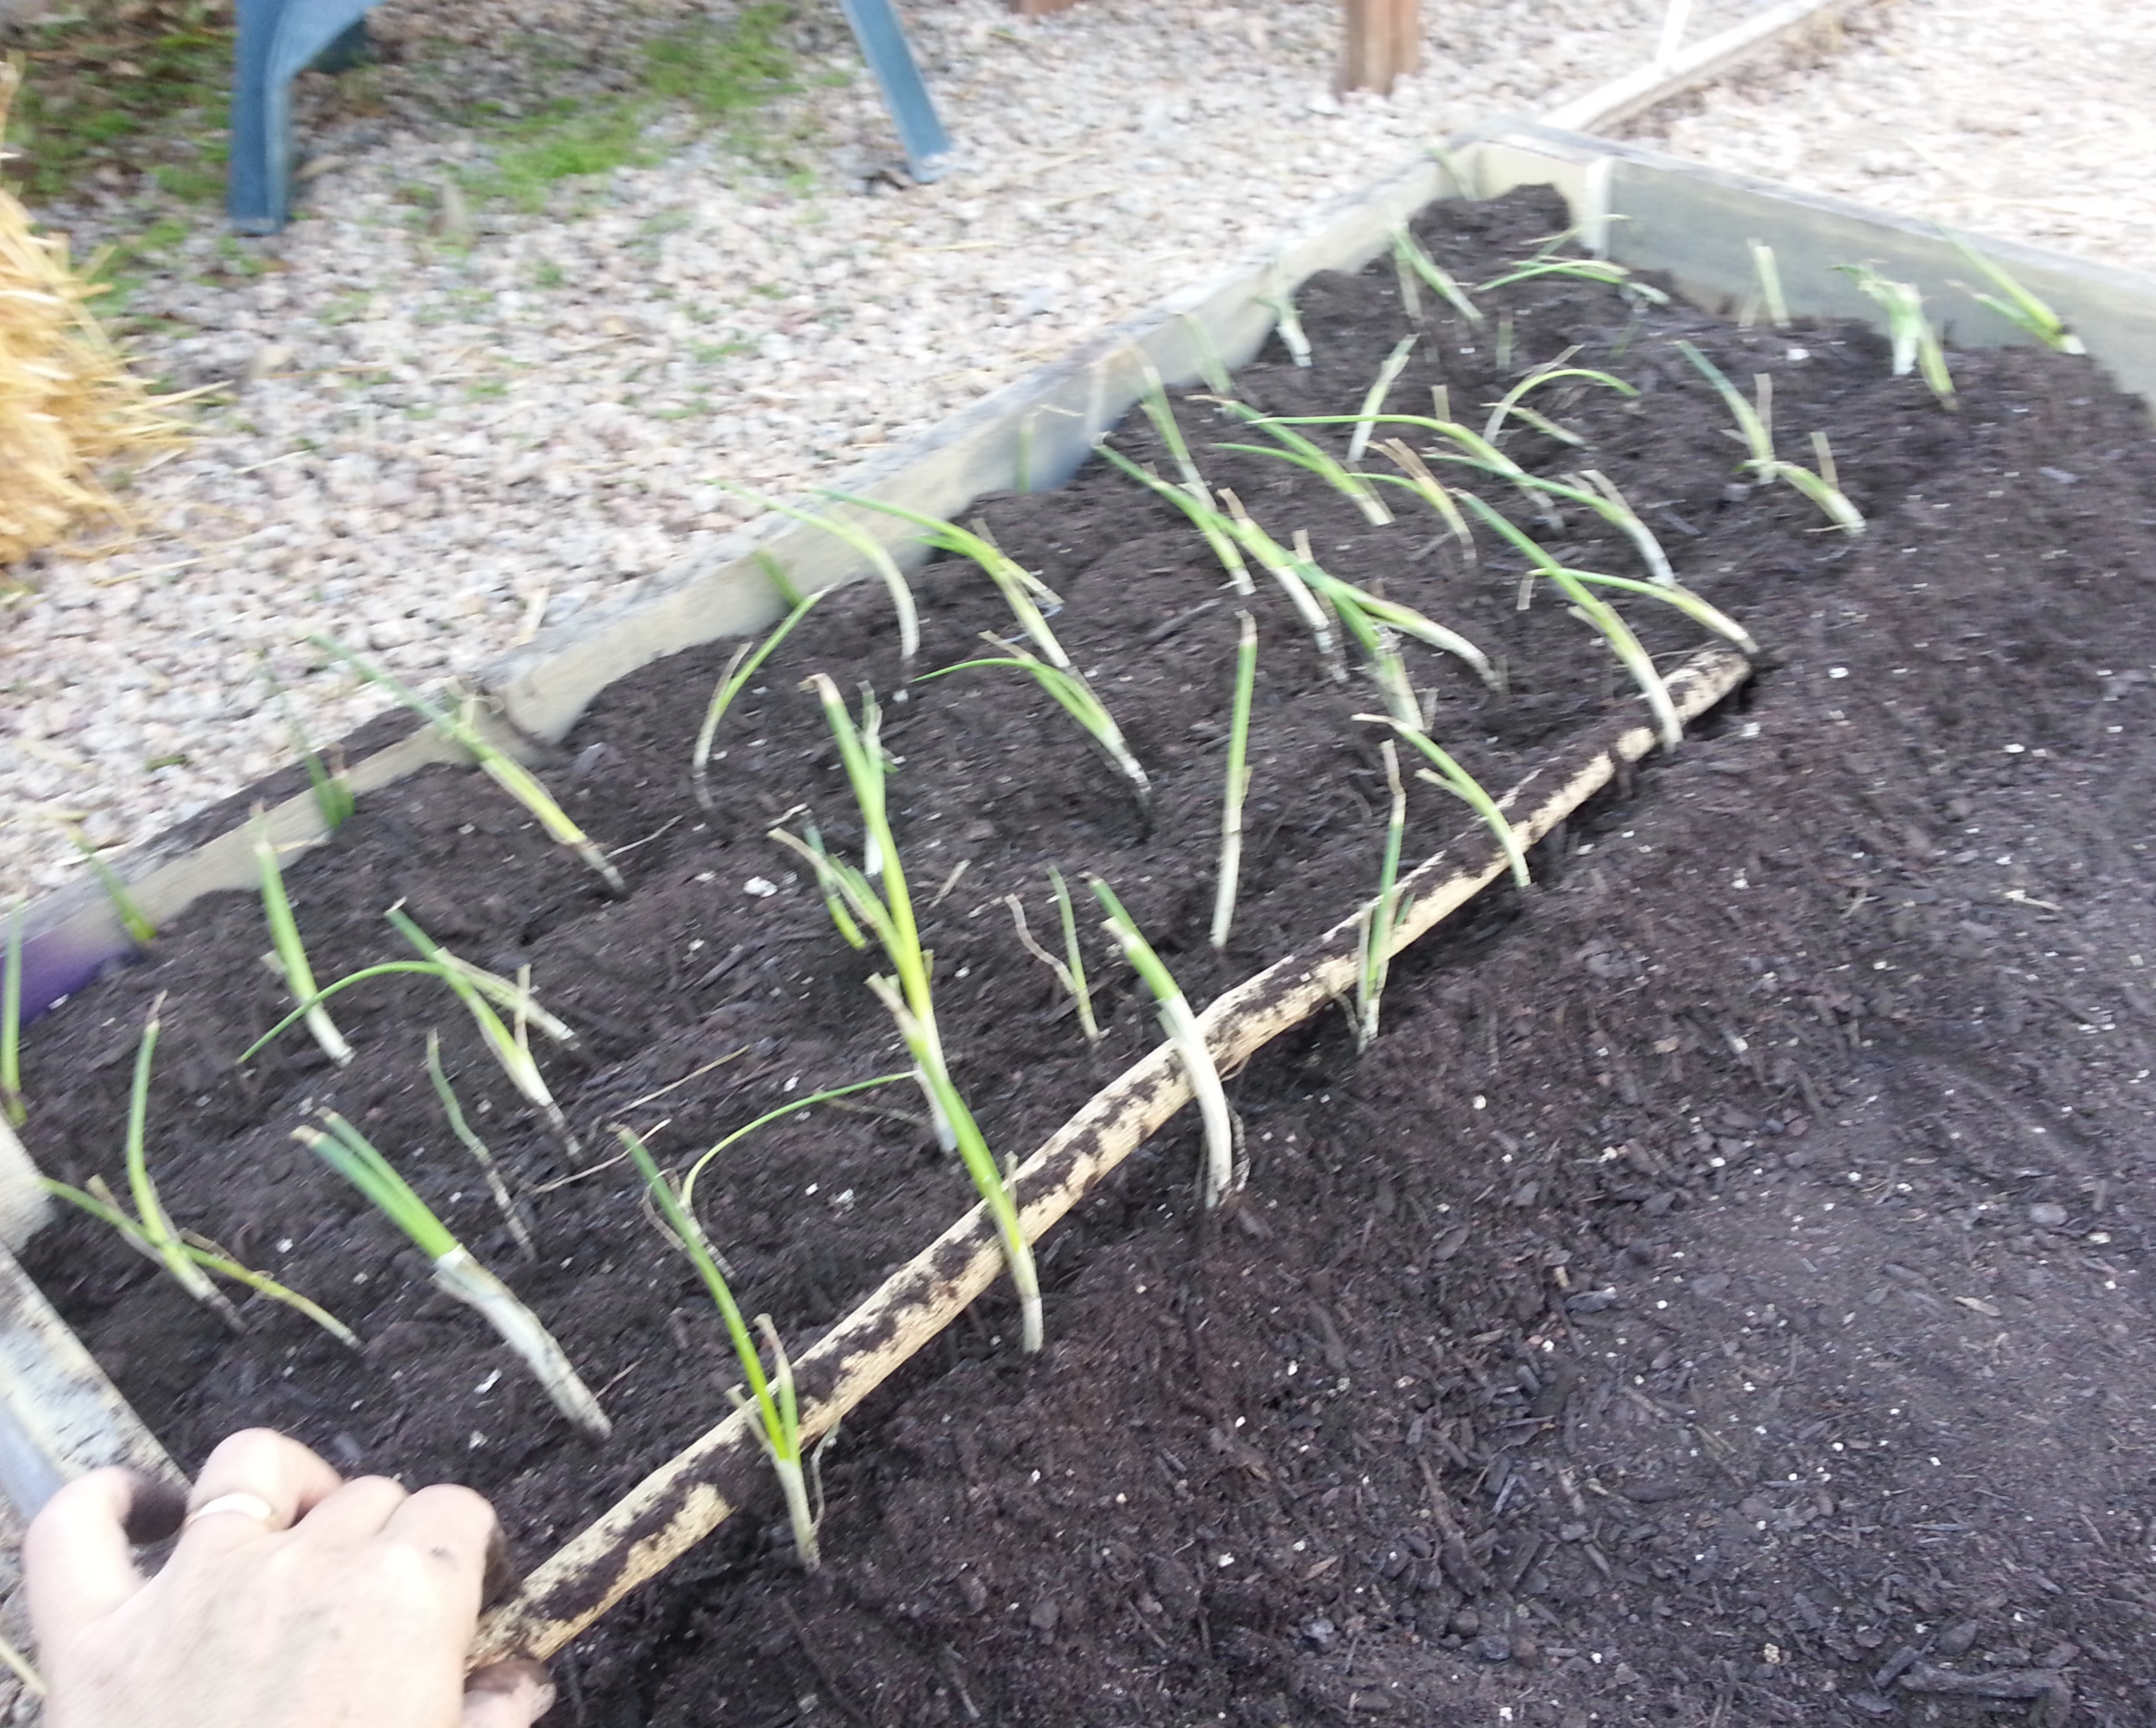
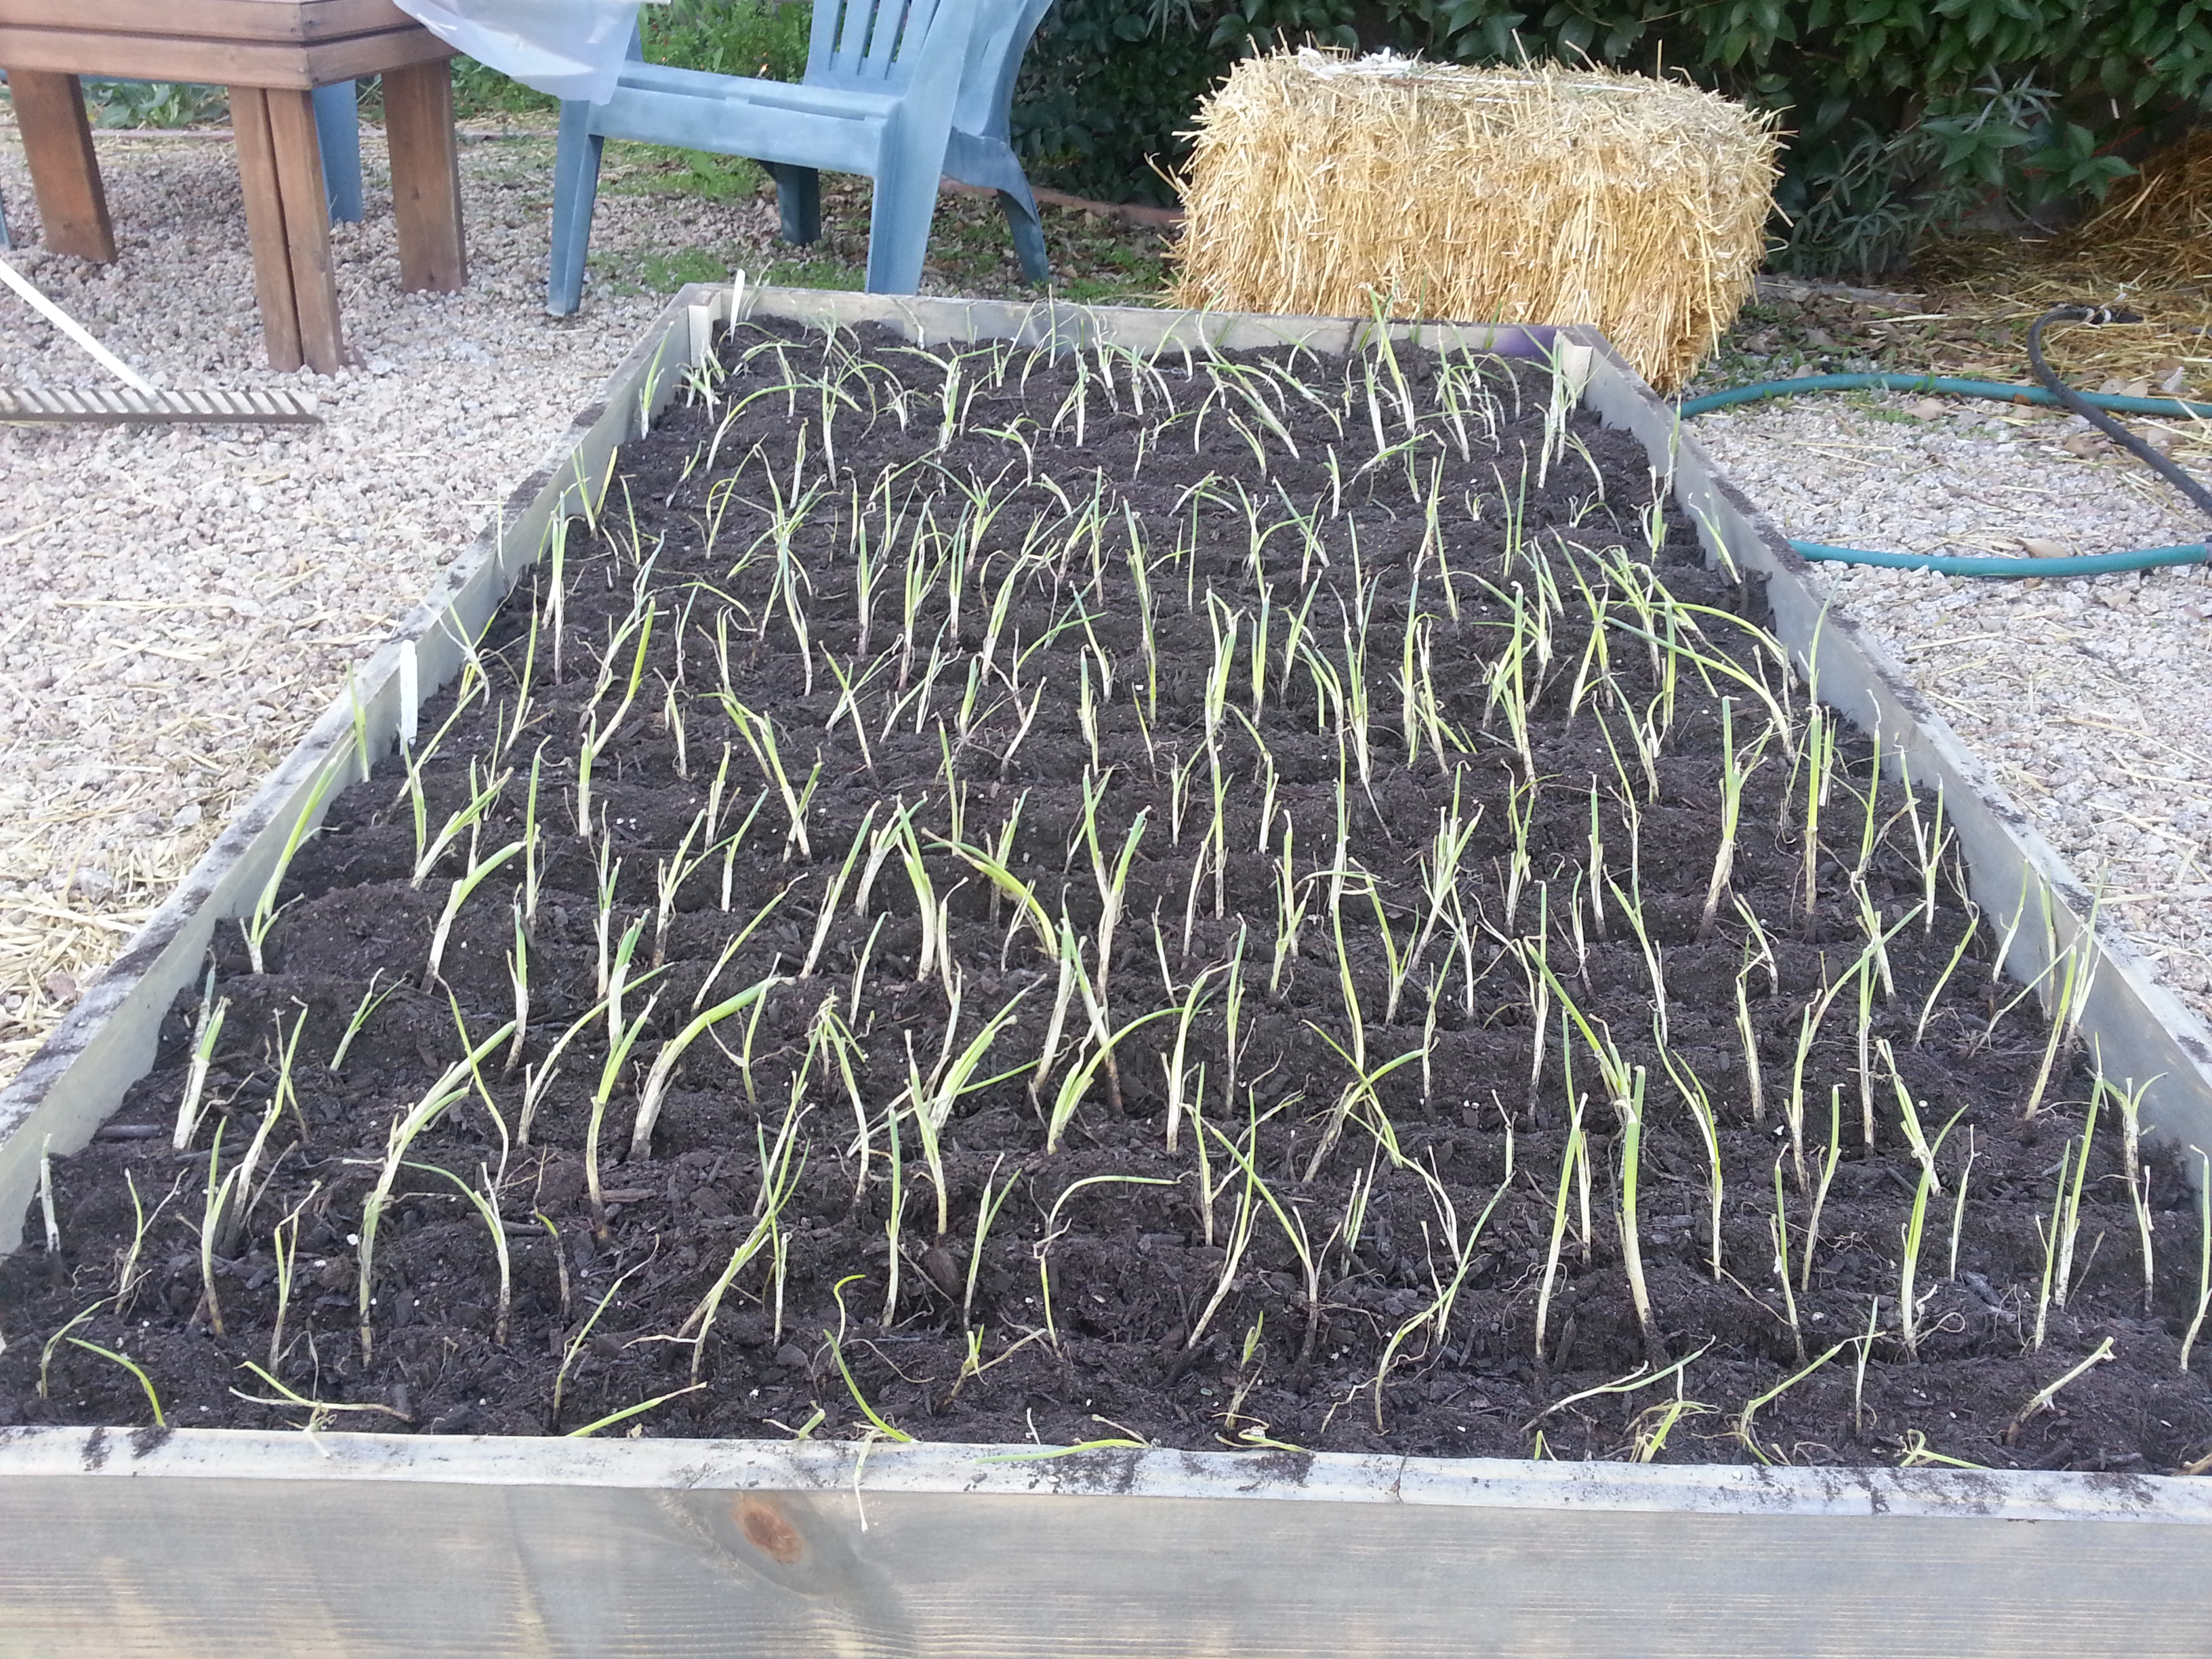
I was not expecting to plant onions in the front yard, and so I did not save any room for them in the existing beds. While building a new bed, I soaked the onions in water so that they would not dry out. Soaking also promotes root growth. Next, I found a stick that was the same width as the bed, a useful tool for planting onions. I plant onions densely, using the stick to ensure even spacing between rows and to lift onion tops out of the soil.
Instructions:
1. Start at one end of the bed. Line up onions on top of the soil, with their greens leaning against the edge. Do not bury the bulbs at this point. Place the stick in front of the onions to help you space the row. The second row of sets is placed on the other side of the stick, with their tops leaning against it.
2. Cover the onions and the stick with soil to a depth of about one inch.
 3. Remove the stick by raising it carefully so that is lifts the green onion tops out of the soil, leaving the bulbs buried.
4. Place the stick against the planted onions and a third row of sets is leaned against it. This row is buried, and the stick is lifted, raising the onion greens. Repeat the pattern until all of the onions are planted. By using the stick to lift the greens, there is no need to press each onion into the soft soil individually. This process spaces rows evenly, and planting is quick!
Labeling and Keeping Track of Onion Plantings
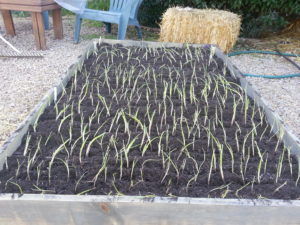
I planted all 200 onions densely in a 6ft X 4ft bed and placed markers where each variety starts and ends. When they are mature, I will systematically pull green onions from the bed while they are growing. My system it to start at one end of the bed, pulling every other onion in the first row as I need them in the kitchen. I continue moving down the rows and marking where I have last harvested so that spacing remains even. Removing half of the onions for green onions makes room for the bulbs of the remaining onions to grow larger in size.
 How to Encourage Large Bulbs When You Grow Onions
The size of an onion bulb is a reflection of the number and size of the green leaves at bulb maturity. For each leaf that is growing on top, there will be a ring of onion; the larger the leaf, the larger the ring size.
Besides providing proper spacing between onions, large bulb growth can be encouraged by adding phosphorous to the soil at planting. Follow with additions of nitrogen every three weeks until the onion stalk grows soft, signaling that harvest is a few weeks away.
When to Harvest Onions
Onions are mature and ready to be harvested when their tops have fallen over. Allow pulled onions to dry, clipping the roots and the tops back to one inch. To preserve them, handle them carefully to prevent bruising. keep them cool, dry and separated. Onions wrapped separately in paper or foil can be preserved in the refrigerated or cold storage for as long as a year.
Aromatic or pungent onions will store longer than a sweeter onion varieties. Onions that have bolted, or flowered, do not store well, so use them quickly.
Discover how to grow your own food with urban farmers Kari Spencer & Greg Peterson. Grow Your Own Food: The Basics.

